Introduction
The Helicone Chat Model is a community node for n8n that provides a LangChain-compatible interface for AI workflows. Route requests to any LLM provider through the Helicone AI Gateway.This is an n8n community node that integrates seamlessly with n8n’s AI chain functionality.
Prerequisites
- An n8n account (see n8n installation docs for setup options)
- A Helicone API key (get one here)
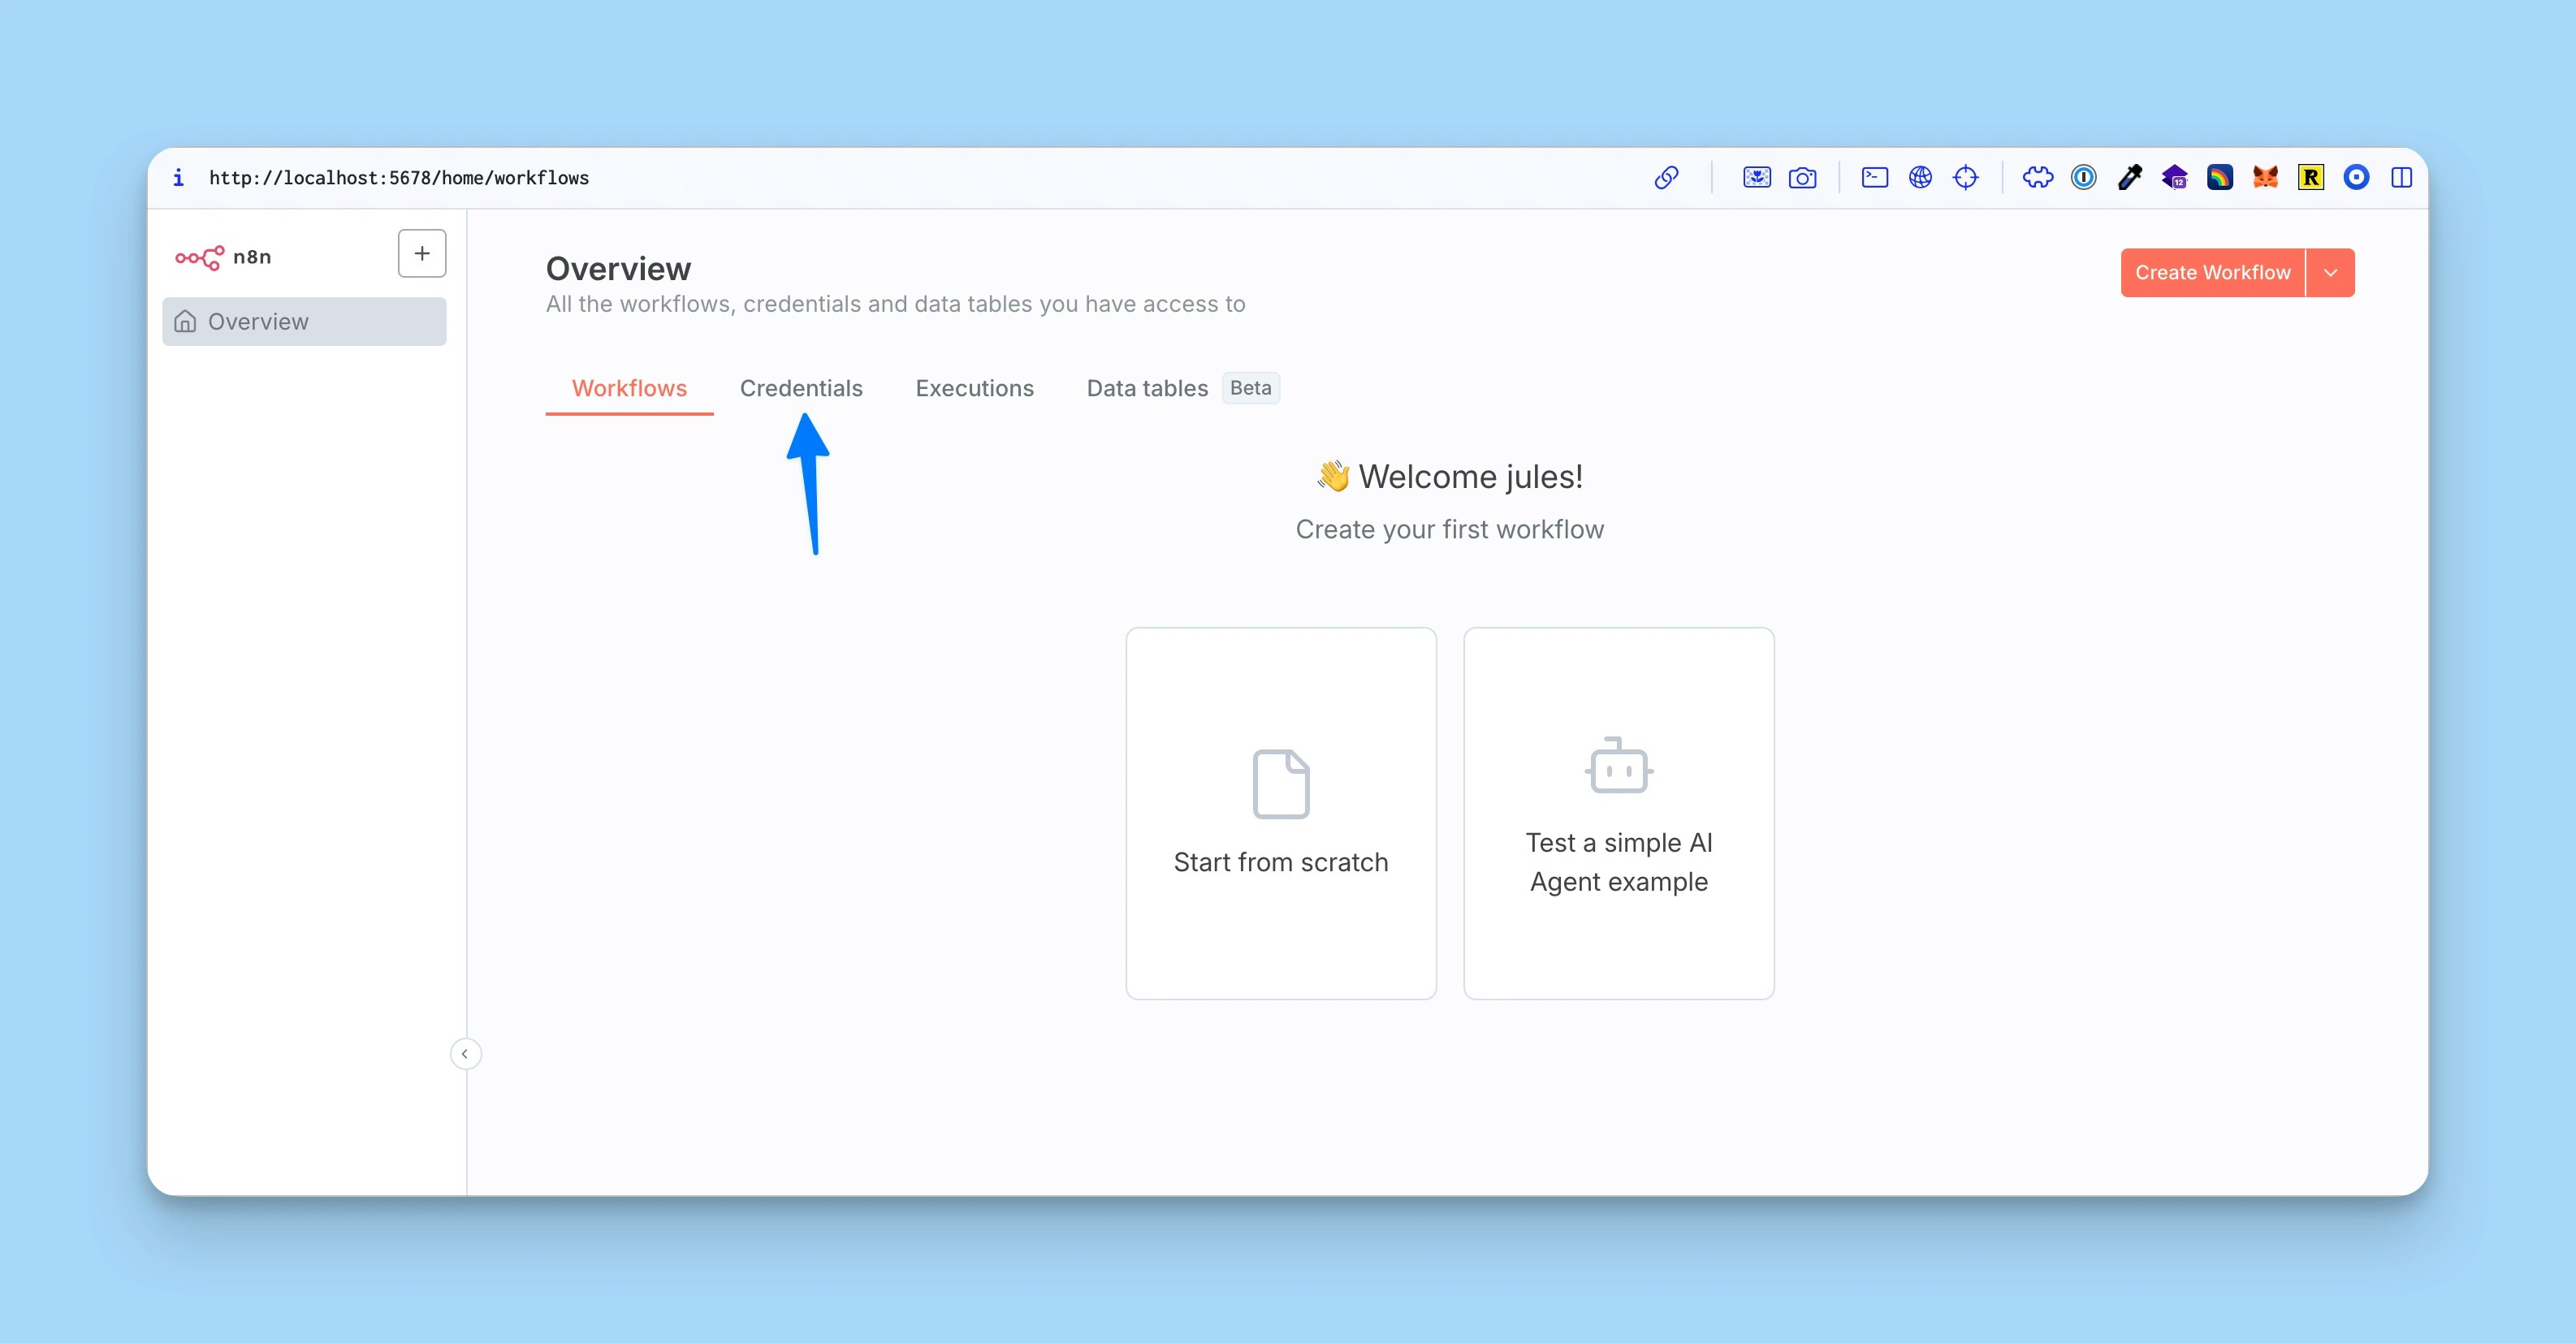
Integration Steps
1
Install the Helicone community node
From your n8n interface: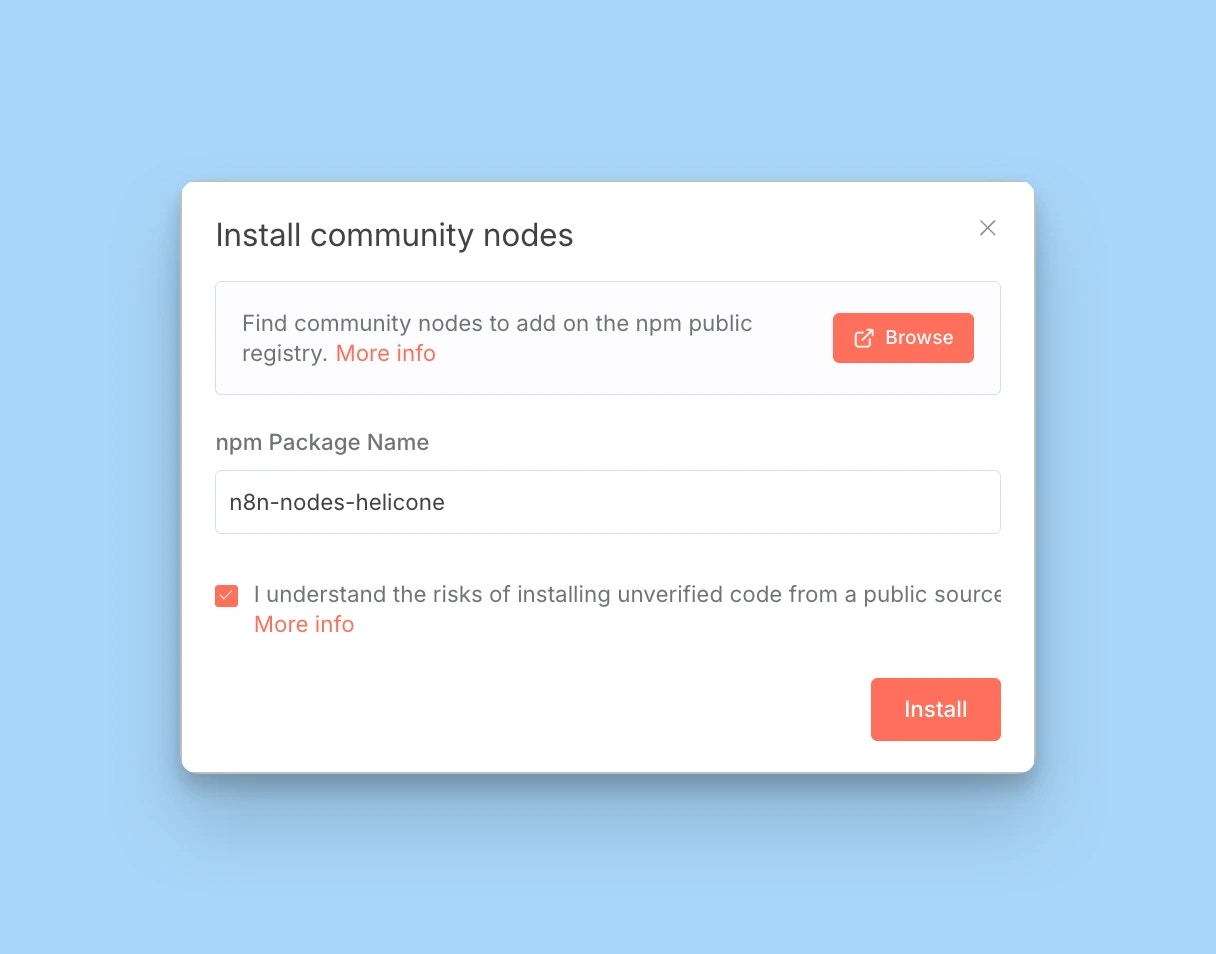
- Click the user menu (bottom left corner)
- Select Settings
- Go to Community Nodes
- Click Install a community node
- Enter the package name:
n8n-nodes-helicone - Click Install
Learn more about installing community nodes in the n8n documentation.
2
Configure Helicone credentials
Add your Helicone API key to n8n:
- Go to Settings → Credentials
- Click Add Credential
- Search for “Helicone” and select Helicone LLM Observability
- Enter your Helicone API key
-
Click Save
3
Add the Helicone Chat Model node to your workflow
- Create a new workflow or open an existing one
- Click ”+” to add a node
- Search for “Helicone Chat Model”
-
Configure the node:
- Credentials: Select your saved Helicone credentials
- Model: Choose any model from the model registry (e.g.,
gpt-4.1-mini,claude-3-opus-20240229) - Options: Configure temperature, max tokens, and other model parameters
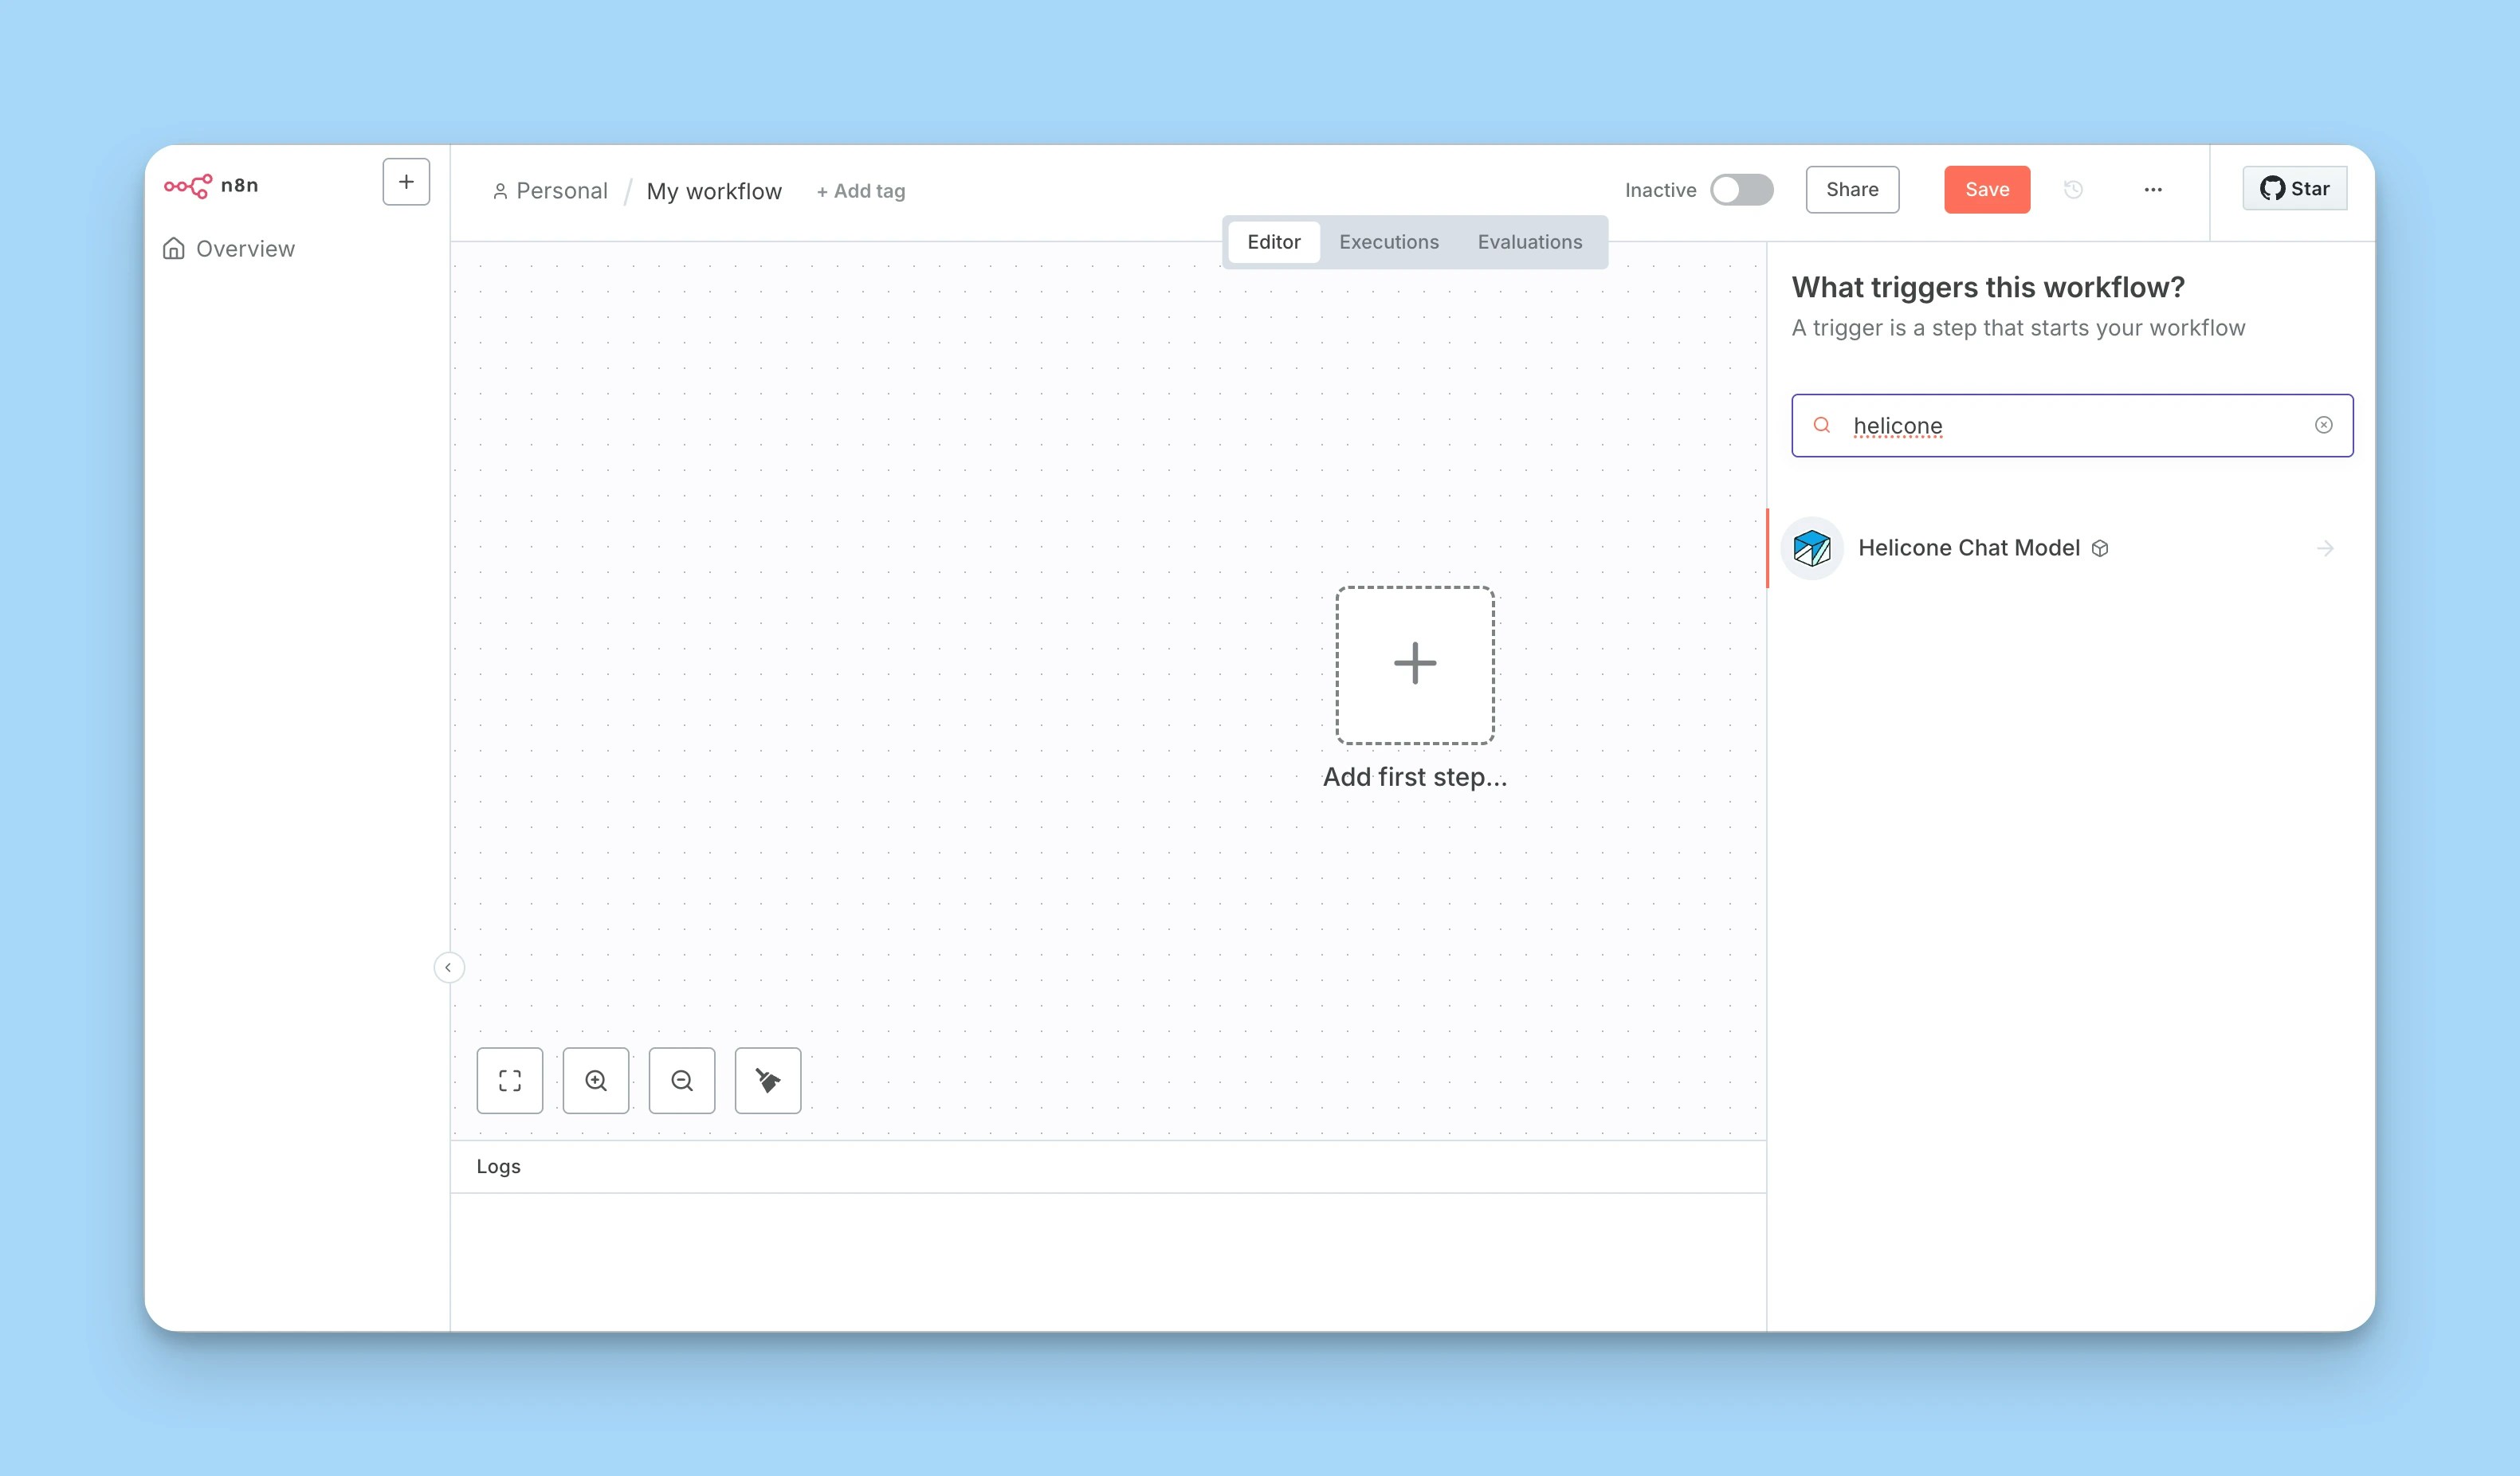
The Helicone Chat Model node outputs a LangChain-compatible model that can be used with other AI nodes in n8n.
4
Use in AI chains
The Helicone Chat Model node is designed to work with n8n’s AI chain functionality: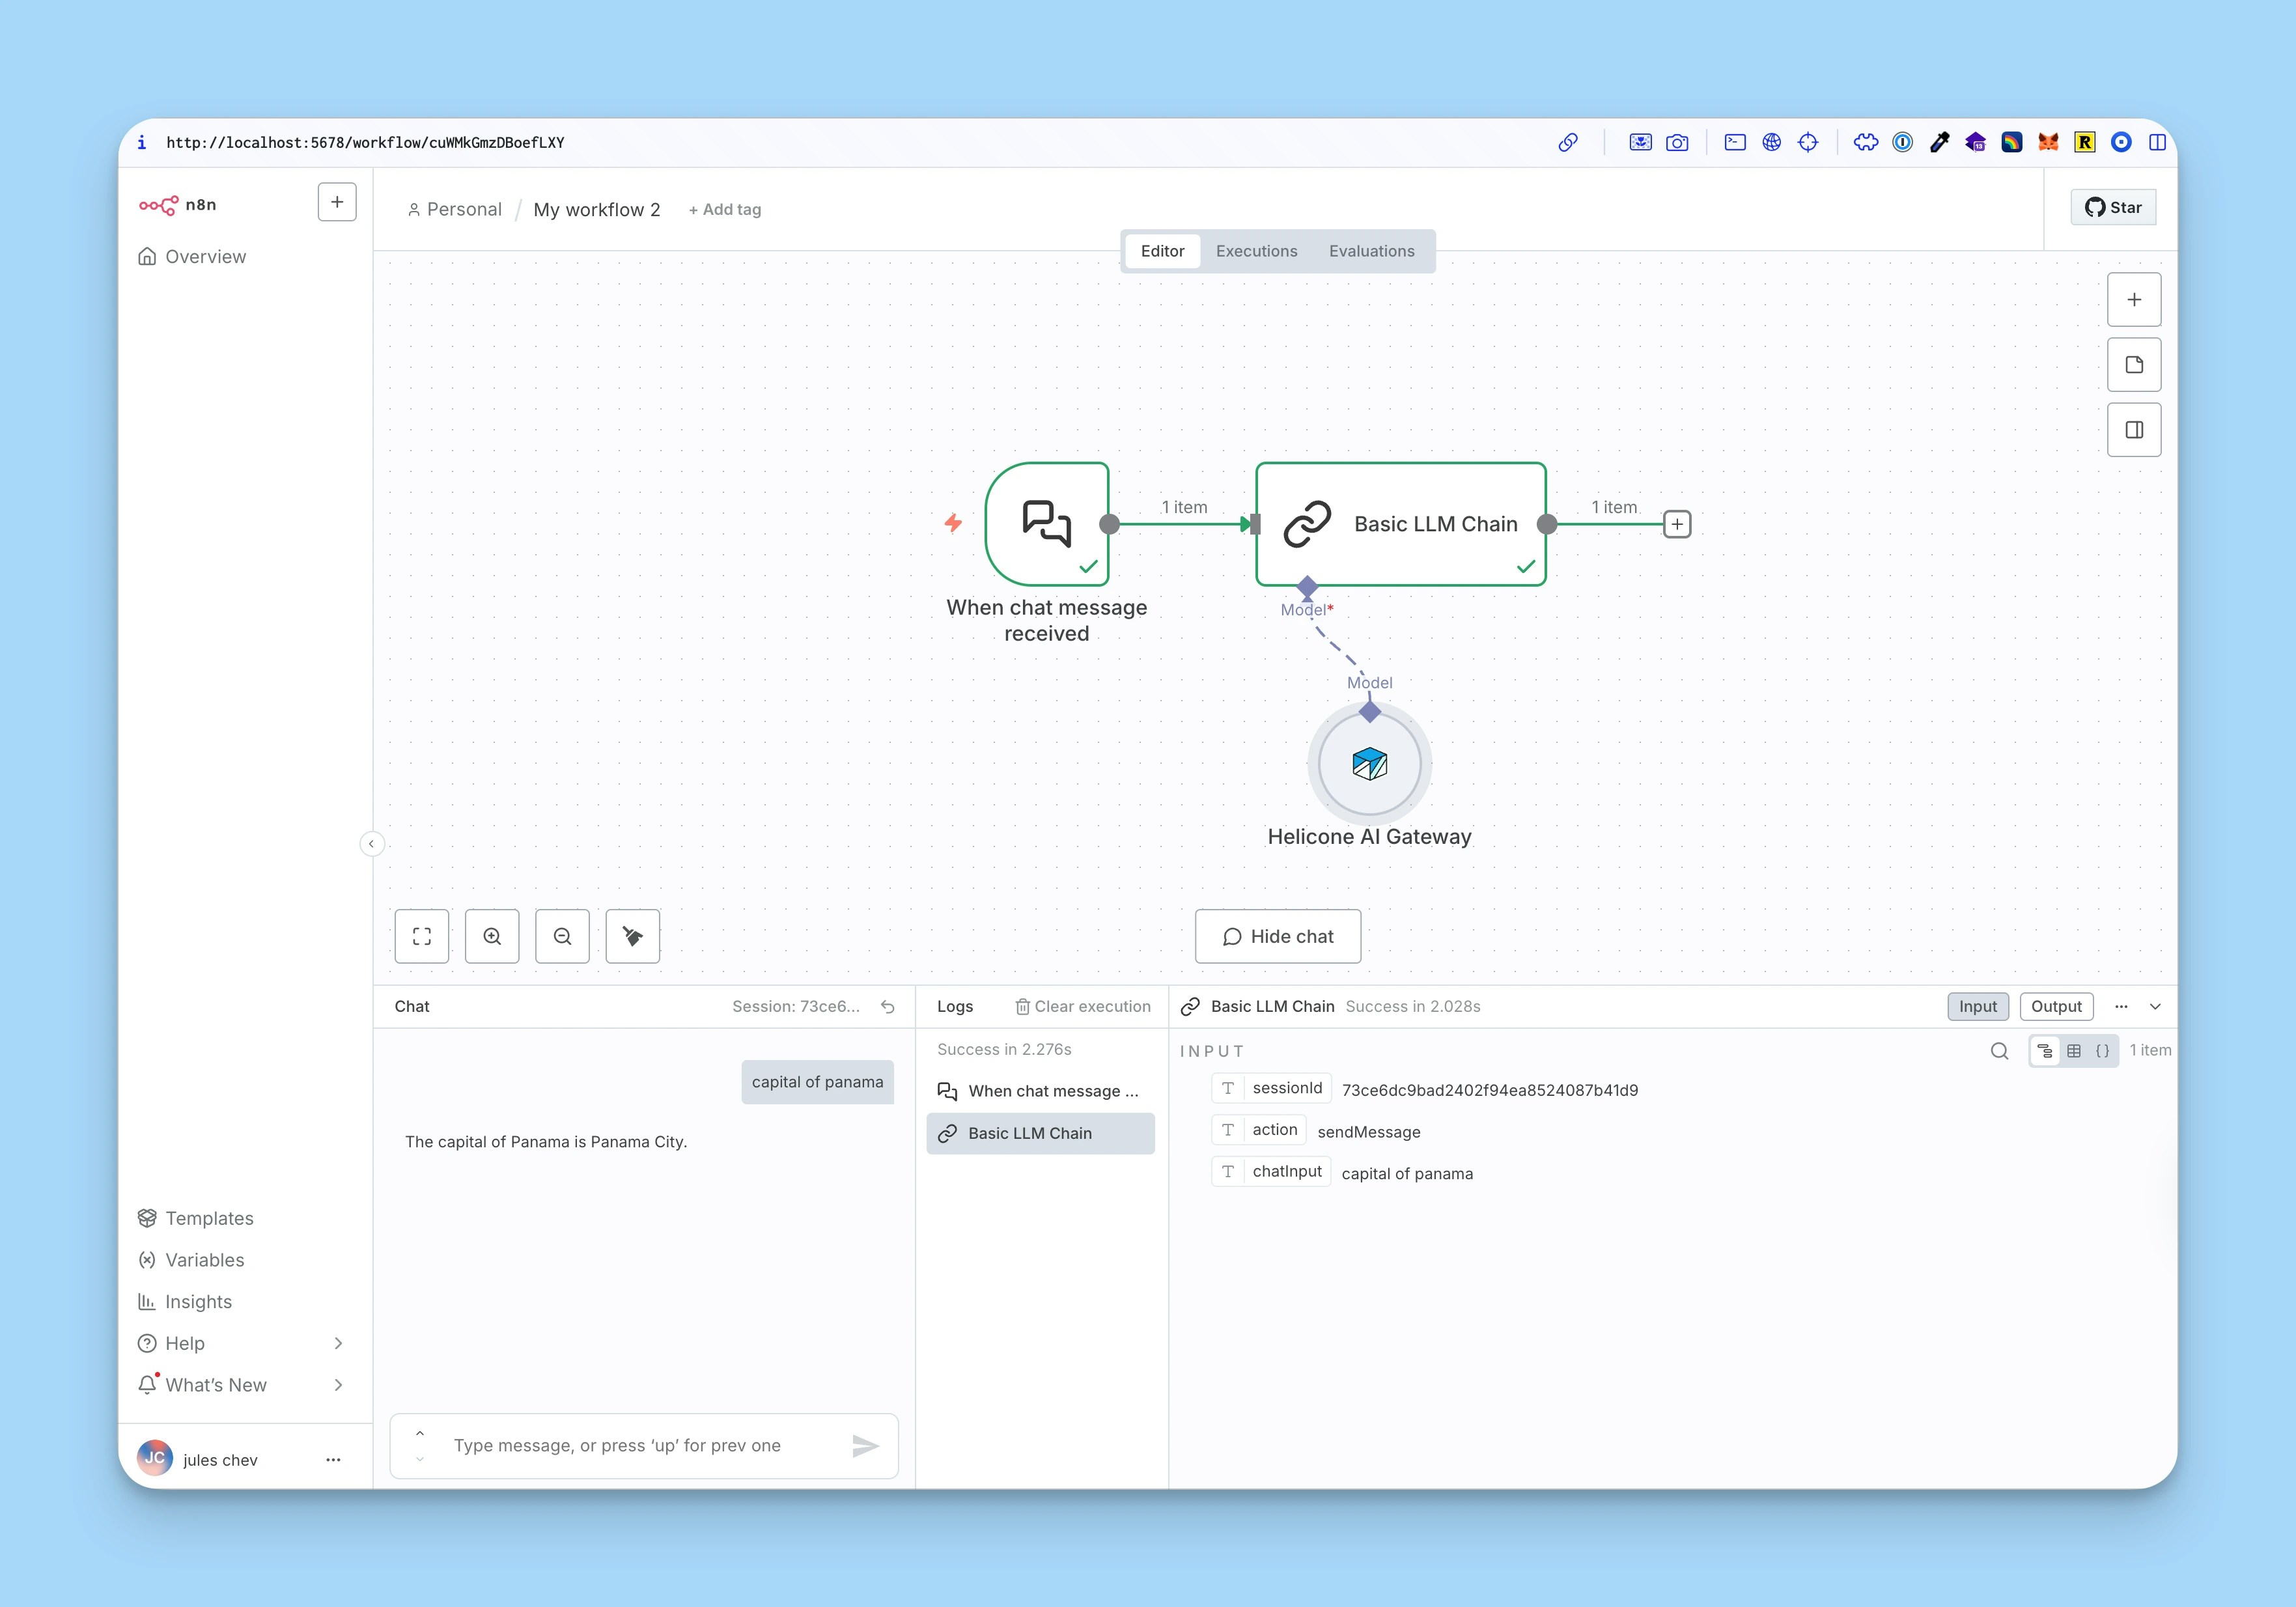
- Connect the node to other AI nodes that accept
ai_languageModelinputs - Build complex AI workflows with Chat nodes, Chain nodes, and other AI processing nodes
- All requests are automatically logged to Helicone
5
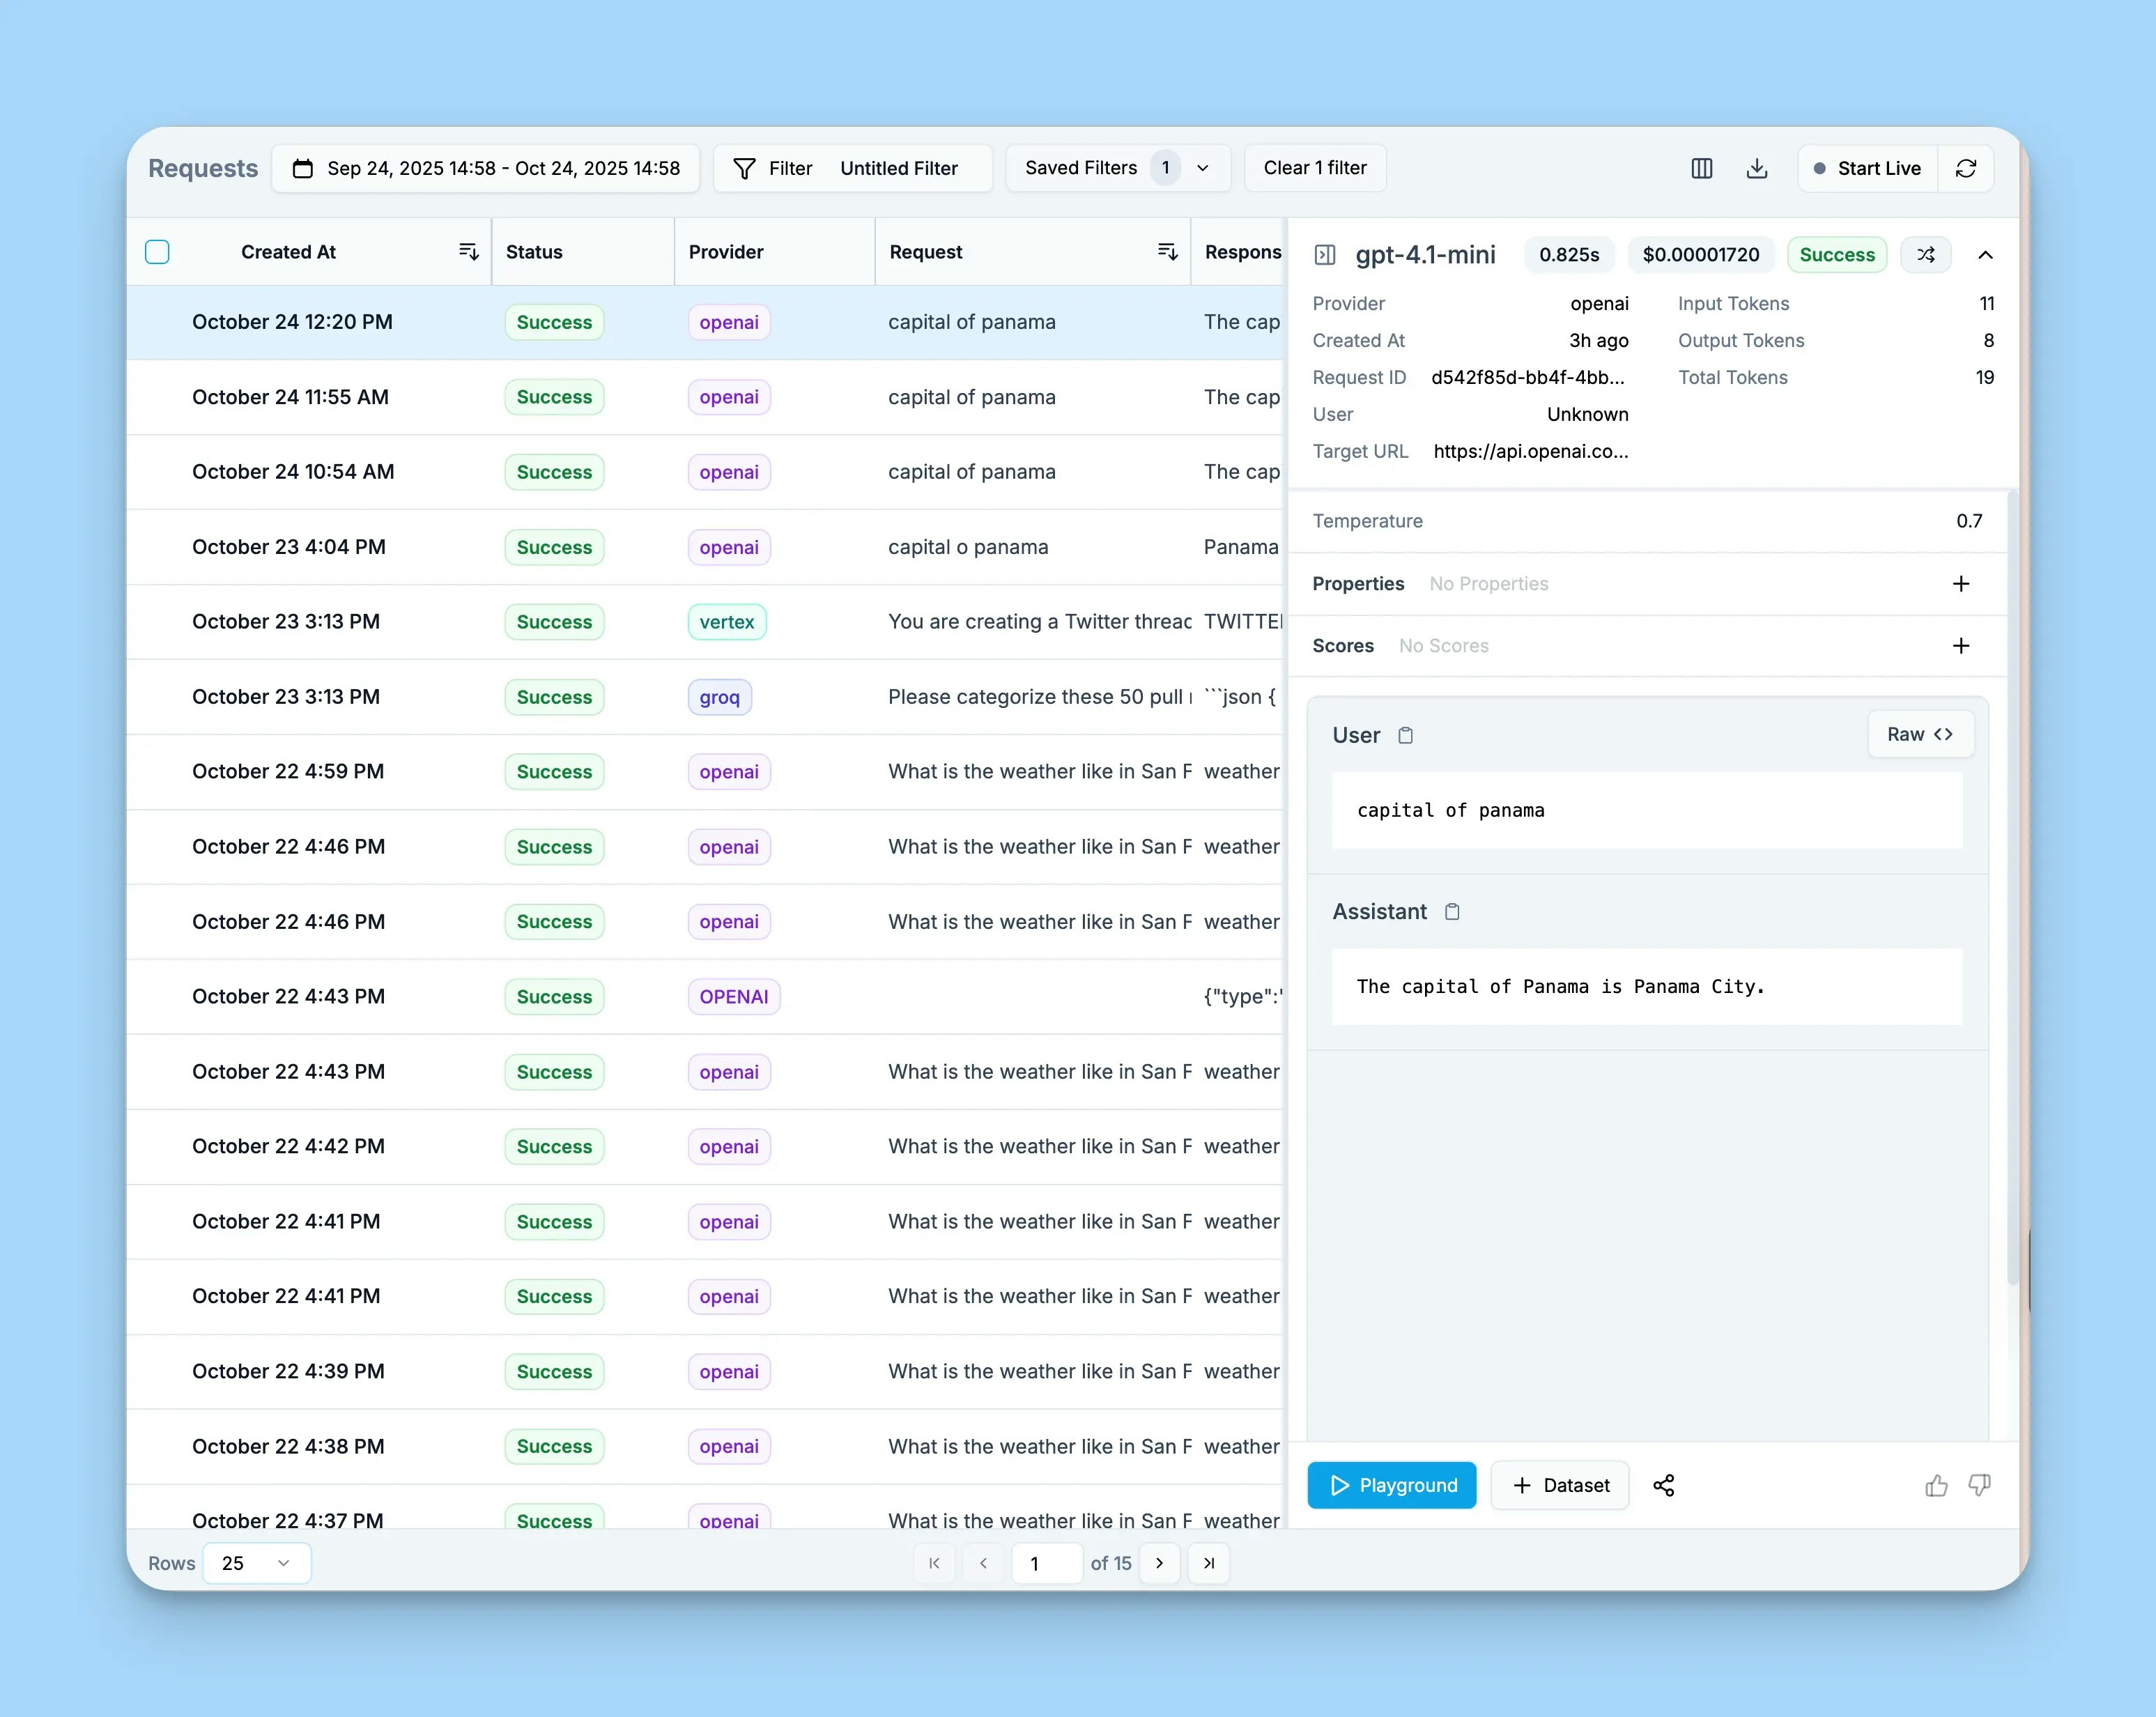
View requests in Helicone dashboard
Open your Helicone dashboard to see:
- All workflow requests logged automatically
- Token usage and costs per request
- Response time metrics
- Full request/response bodies
- Session tracking for multi-turn conversations
-
Custom properties for filtering and analysis
Node Configuration
Required Parameters
- Model: Any model supported by Helicone AI Gateway.
Examples:
gpt-4.1-mini,claude-opus-4-1,gemini-2.5-flash-lite. See all models in the Helicone’s model registry
Model Options
- Temperature (0-2): Controls randomness in responses
- Max Tokens: Maximum tokens to generate
- Top P (0-1): Nucleus sampling parameter
- Frequency Penalty (-2 to 2): Reduces repetition
- Presence Penalty (-2 to 2): Encourages new topics
- Response Format: Text or JSON
- Timeout: Request timeout in milliseconds
- Max Retries: Number of retry attempts on failure
Example Workflows
Basic Chat Workflow
- Add a Chat Input node (triggers on user message)
- Add the Helicone Chat Model node
- Model:
gpt-4.1-mini - Temperature: 0.7
- Model:
- Add a Chat Output node to display the response
Multi-Step AI Chain
- Receive data via webhook
- First Helicone Chat Model analyzes the input
- Extract structured data
- Second Helicone Chat Model generates a response
- Both requests appear in Helicone dashboard with session tracking
Workflow with Custom Properties
Configure the node with custom properties to track workflow metadata:- Open the Helicone Chat Model node
- Expand Helicone Options → Custom Properties
- Add a JSON object:
Troubleshooting
Node Installation Issues
- Node not appearing: Wait 30 seconds after installation, then refresh n8n
- Installation failed: Check your n8n instance has internet access
- Version conflicts: Ensure you’re running a compatible n8n version (>= 1.0)
Authentication Errors
- Invalid API key: Verify your Helicone API key starts with
sk-helicone- - 403 Forbidden: Ensure your API key has write access enabled
- Provider not configured: Check the name of the model is exactly the model ID expected by the gateway. If you’ve added your own provider keys, make sure they are correctly set in your Helicone dashboard
Model Errors
- Model not found: Check the exact model name at Helicone’s model registry
- Model unavailable: Verify provider access in your Helicone account
- Different naming: Providers use different conventions (e.g., OpenAI uses
gpt-4o-mini, while the gateway usesgpt-4.1-mini)
Getting Help
Looking for a framework or tool not listed here? Request it here!
Related Documentation
AI Gateway Overview
Learn about Helicone’s AI Gateway features and capabilities
Provider Routing
Configure intelligent routing and automatic failover
Model Registry
Browse all available models and providers
Gateway Features
Explore caching, session tracking, and more
Custom Properties
Add metadata to track and filter your requests
Sessions
Track multi-turn conversations and user sessions