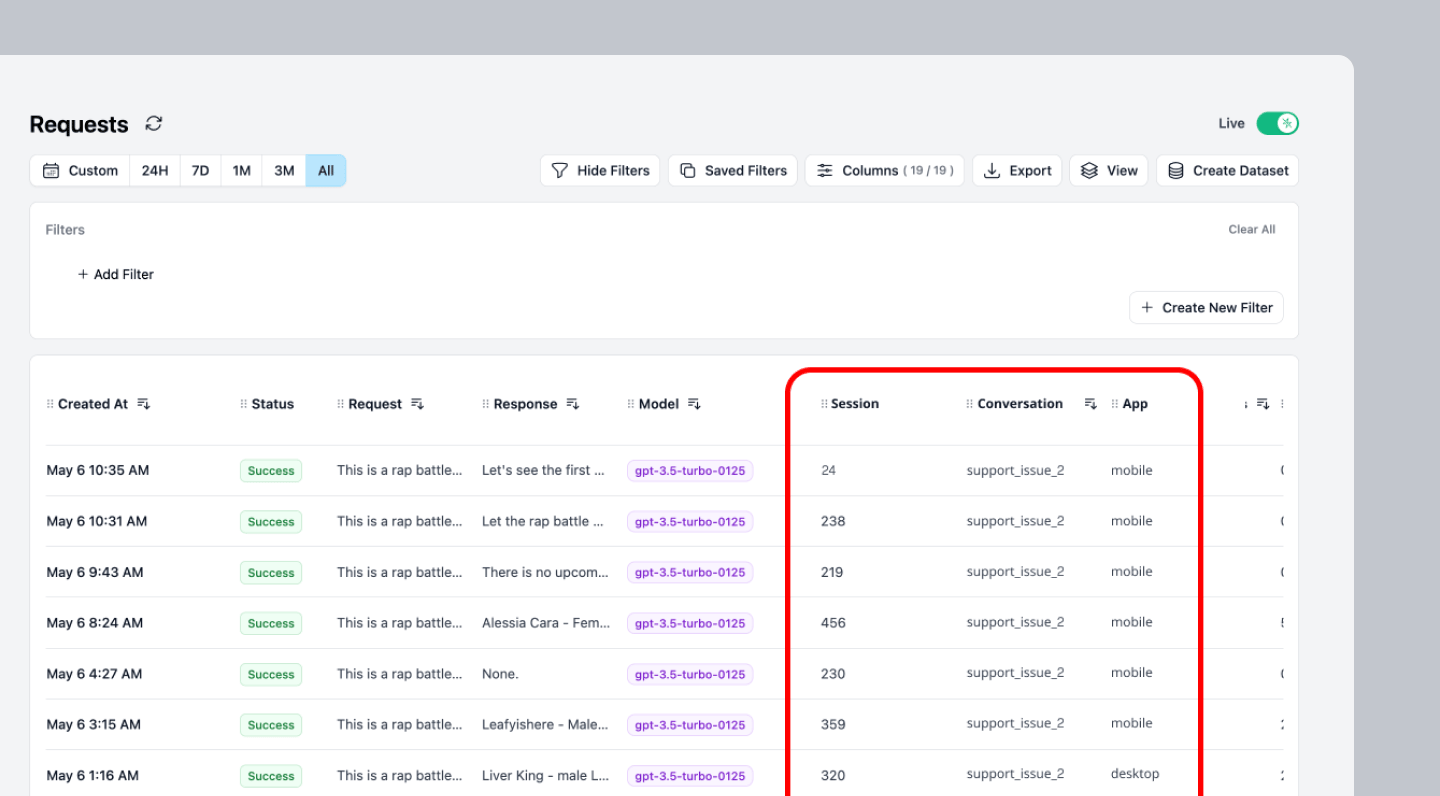
Custom Properties appear as headers in the Request table.
Why use Custom Properties
- Track unit economics: Calculate cost per user, conversation, or feature to understand your application’s profitability
- Debug complex workflows: Group related requests in multi-step AI processes for easier troubleshooting
- Analyze performance by segment: Compare latency and costs across different user types, features, or environments
Quick Start
Use headers to add Custom Properties to your LLM requests.1
Define the Header
Name your header in the format
Helicone-Property-[Name] where Name is the name of your custom property.2
Define the Value
The value is a string that labels your request for this custom property. Here are some examples:
Understanding Custom Properties
How Properties Work
Custom properties are metadata attached to each request that help you: What they enable:- Filter requests in the dashboard by any property
- Calculate costs and metrics grouped by properties
- Export data segmented by custom dimensions
- Set up alerts based on property values
Use Cases
- Environment & Deployment Tracking
- Customer Support Bot
Track performance and costs across different environments and deployments:
Configuration Reference
Header Format
Custom properties use a simple header-based format:string
Any custom metadata you want to track. Replace
[Name] with your property name.Example: Helicone-Property-Environment: stagingstring
Special reserved property for user tracking. Enables per-user cost analytics and usage metrics. See User Metrics for detailed tracking capabilities.Example:
Helicone-User-Id: user-123Advanced Features
Updating Properties After Request
You can update properties after a request is made using the REST API:Querying by Custom Properties
Once you’ve added custom properties to your requests, you can filter and retrieve requests using those properties via the Query API.Simple Property Filter
Filter requests by a single property value:Multiple Property Filters
Combine multiple property filters using AND/OR operators:Combining Properties with Other Filters
Filter by properties AND other criteria like date range or model:Common Mistake
❌ WRONG - Properties without request_response_rmt wrapper
❌ WRONG - Properties without request_response_rmt wrapper
✅ CORRECT - Properties with request_response_rmt wrapper
✅ CORRECT - Properties with request_response_rmt wrapper
Related Features
User Metrics
Track per-user costs and usage with the special Helicone-User-Id property
Sessions
Group related requests with Helicone-Session-Id for workflow tracking
Webhooks
Filter webhook deliveries based on custom property values
Alerts
Set up alerts triggered by specific property combinations
Need more help?
Need more help?
Additional questions or feedback? Reach out to
help@helicone.ai or schedule a
call with us.