March 2025 Update: We’ve enhanced our webhook implementation to provide a
unified
request_response_url field that contains both request and response
data in a single object. This improves performance and simplifies data
retrieval. Learn more.Why use Webhooks
- Real-time evaluation: Automatically score and evaluate LLM responses for quality, safety, and relevance
- Data pipeline integration: Stream LLM data to external systems, data warehouses, or analytics platforms
- Automated workflows: Trigger downstream actions like notifications, content moderation, or process automation
Quick Start
1
Set up webhook endpoint
Navigate to the webhooks page and add your webhook URL: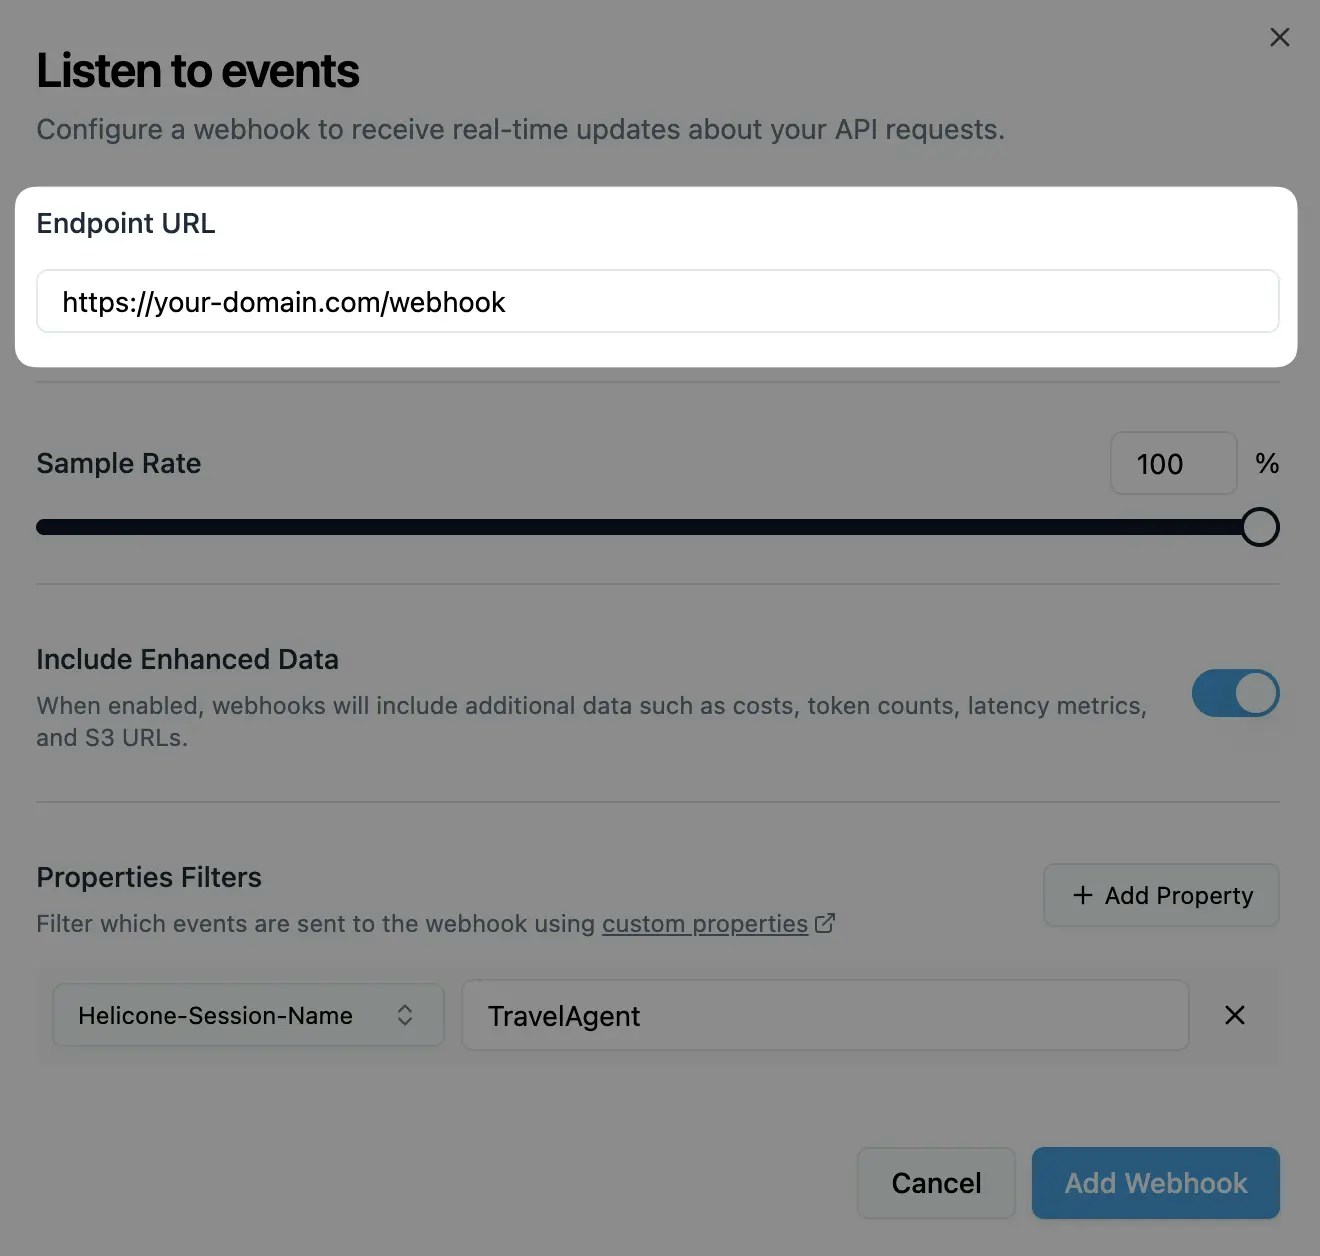
Your webhook endpoint should accept POST requests.
2
Configure events and filters
Select which events trigger webhooks and add any property filters: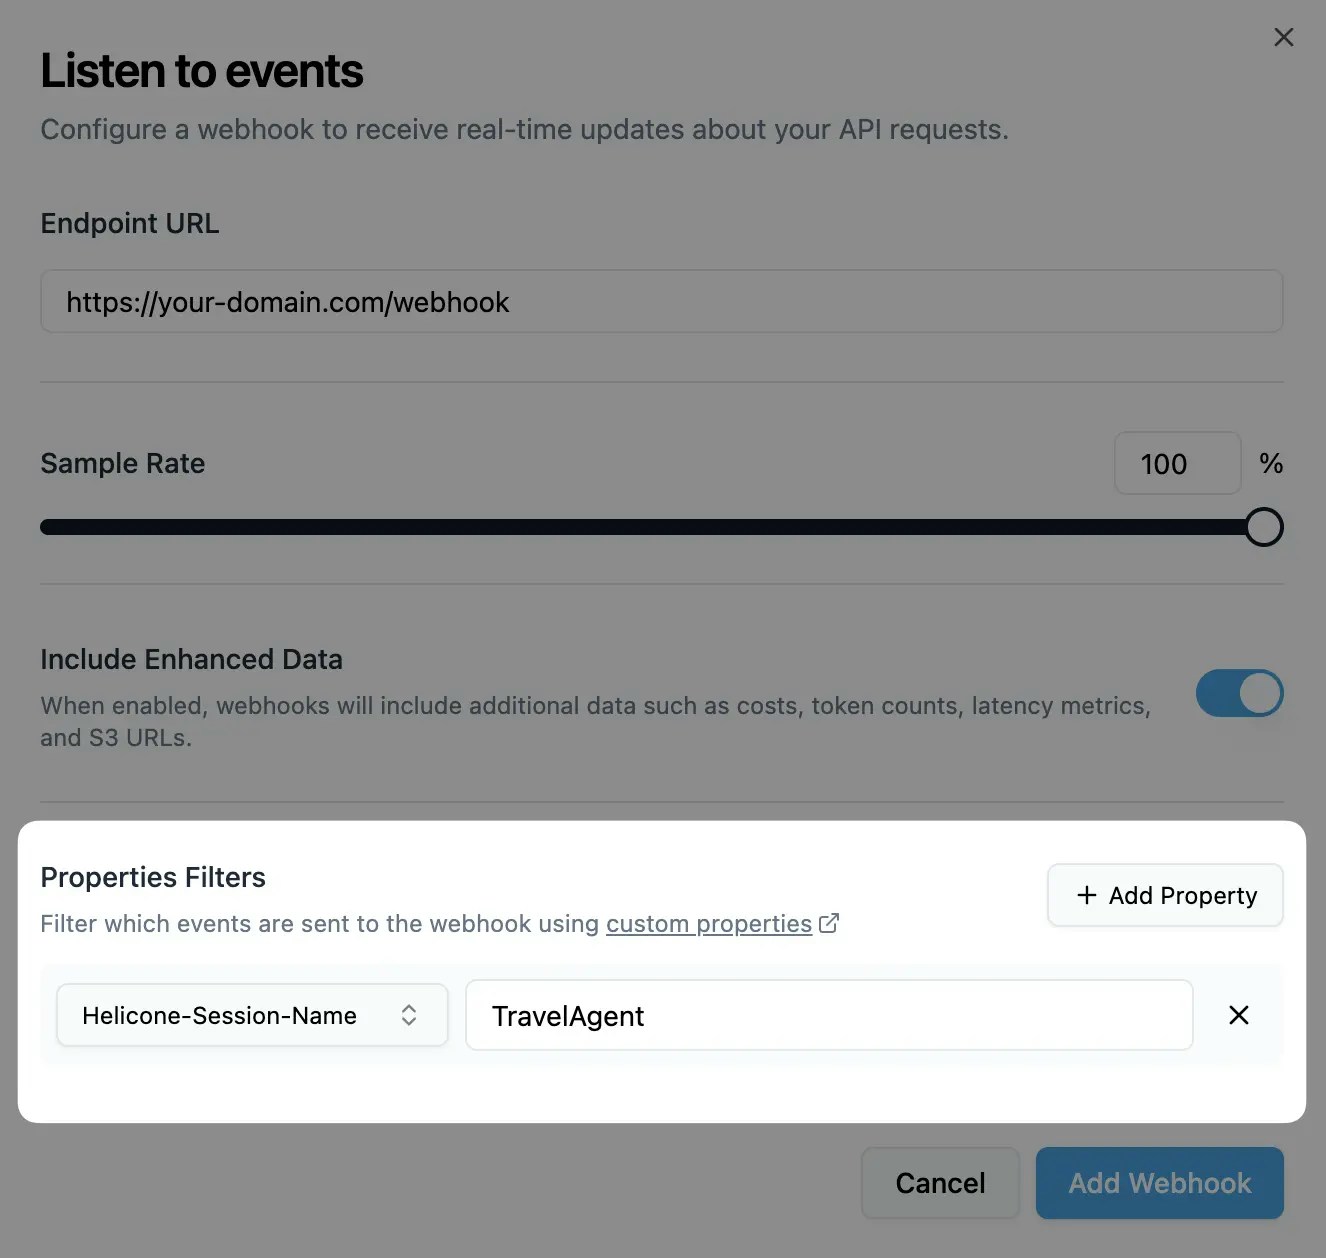
You can also create webhooks programmatically using our REST API.
3
Secure your endpoint
Copy the HMAC key from the dashboard and validate webhook signatures:
Configuration Options
Configure your webhook behavior through the dashboard or REST API:Basic Settings
Advanced Settings
Property Filters
Property Filters
Filter webhooks based on custom properties you set in requests:Only requests matching ALL specified properties will trigger webhooks.
Use Cases
- Compliance Monitoring
- Data Pipeline
Monitor AI responses for regulatory compliance and policy violations:
Understanding Webhooks
Webhook Payload Structure
Webhooks deliver structured data about completed LLM requests: Standard payload:include_data is enabled):
Request/Response URL Data
Therequest_response_url contains complete, untruncated data:
Security Best Practices
Always verify webhook signatures:Performance Considerations
URL expiration:request_response_urlexpires after 30 minutes- Always use
request_response_urlfor complete data
- Webhook delivery times out after 2 minutes
- Request/response bodies are truncated at 10KB in webhook payload
Related Features
Scores
Score LLM responses automatically via webhooks for quality monitoring
Custom Properties
Add metadata to requests for filtering and organizing webhook deliveries
User Metrics
Track per-user usage patterns and costs via webhook data
Local Testing
Test webhooks locally using ngrok or other tunneling tools
Need more help?
Need more help?
Additional questions or feedback? Reach out to
help@helicone.ai or schedule a
call with us.