Deploy with Porter
Deploy Helicone AI Gateway to Porter in 5 minutes through their intuitive UI
Deploy the AI Gateway to Porter for a simple, scalable cloud deployment with an intuitive web interface and automatic infrastructure management.
Security Notice: Porter deployments are publicly accessible. You must enable authentication to prevent unauthorized access to your provider API keys. This guide includes authentication setup as a required step.
Quick Start
Create a Porter account
Sign up for Porter and set up your infrastructure:
- Go to Porter and create an account
- Follow Porter’s onboarding process to connect your cloud provider (AWS, GCP, or Azure)
- Porter will guide you through creating your first cluster
- Complete the cluster setup - this will be your deployment target
Porter handles all the infrastructure complexity for you. The onboarding process typically takes 5-10 minutes and includes automatic cluster provisioning.
Get your Helicone API key
The AI Gateway requires authentication to secure your public deployment. You’ll need a Helicone API key to authenticate requests.
Create your Helicone API key:
- Go to Helicone Settings
- Click “Generate New Key”
- Copy the key (starts with
sk-helicone-) - Save it securely - you’ll need it for deployment
No Helicone subscription is required, but the API key is essential for securing your publicly accessible gateway.
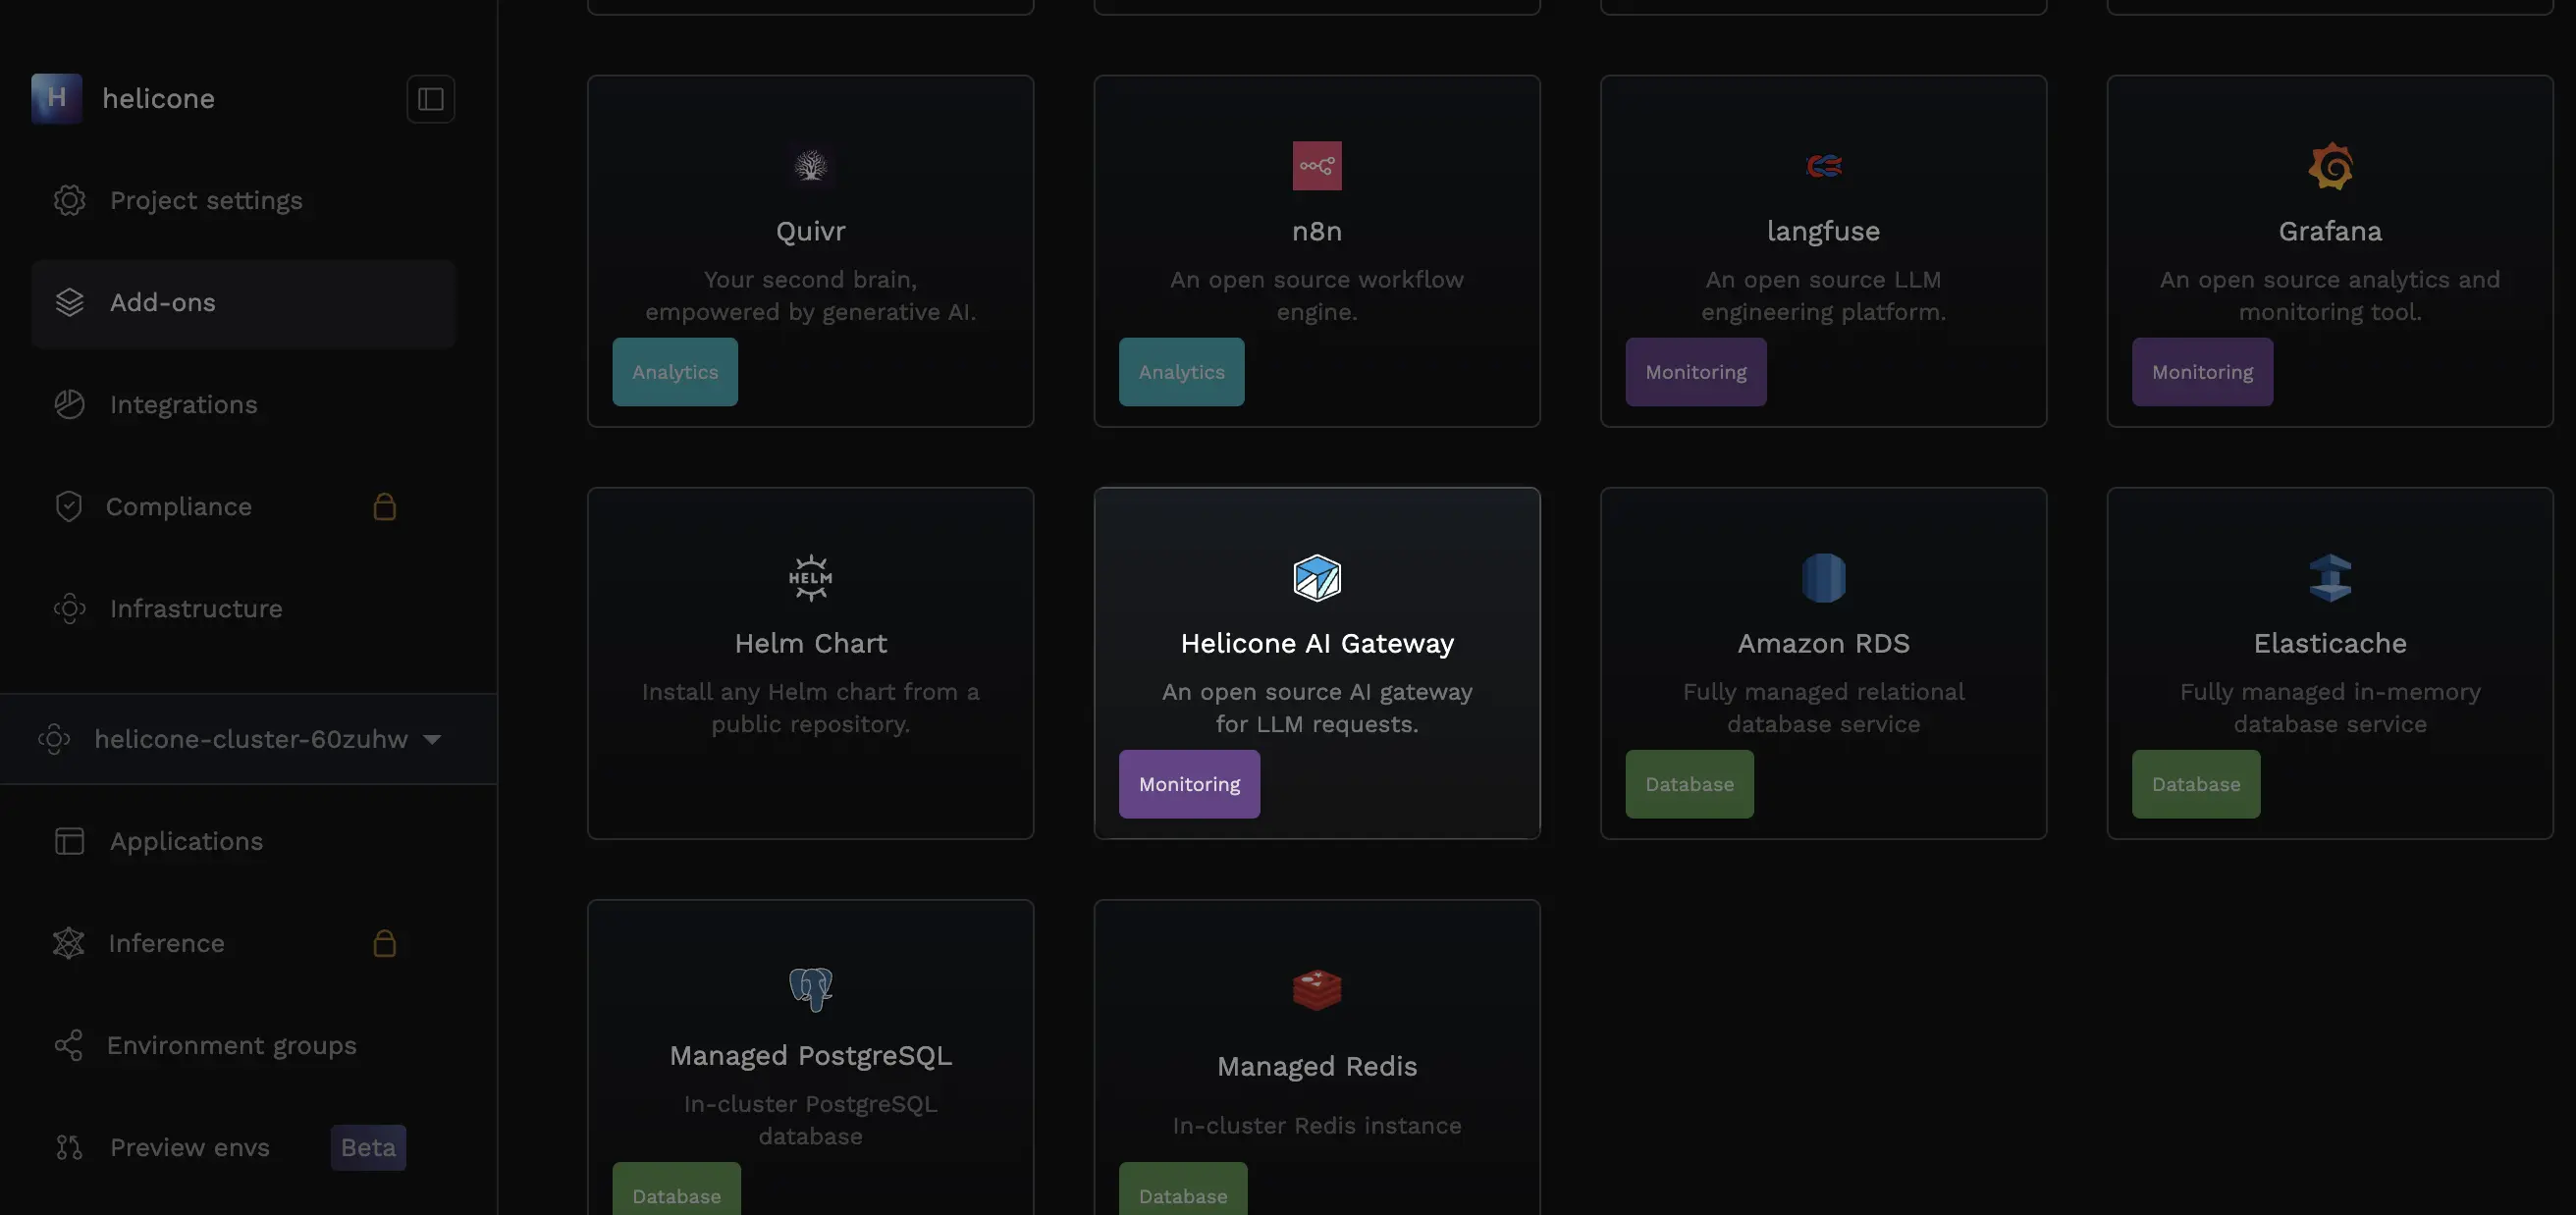
Navigate to the Helicone AI Gateway Add-on
Access Porter’s marketplace:
- Log into your Porter dashboard
- Navigate to “Add-ons” in the sidebar

- Click “New Add-on” to browse the marketplace
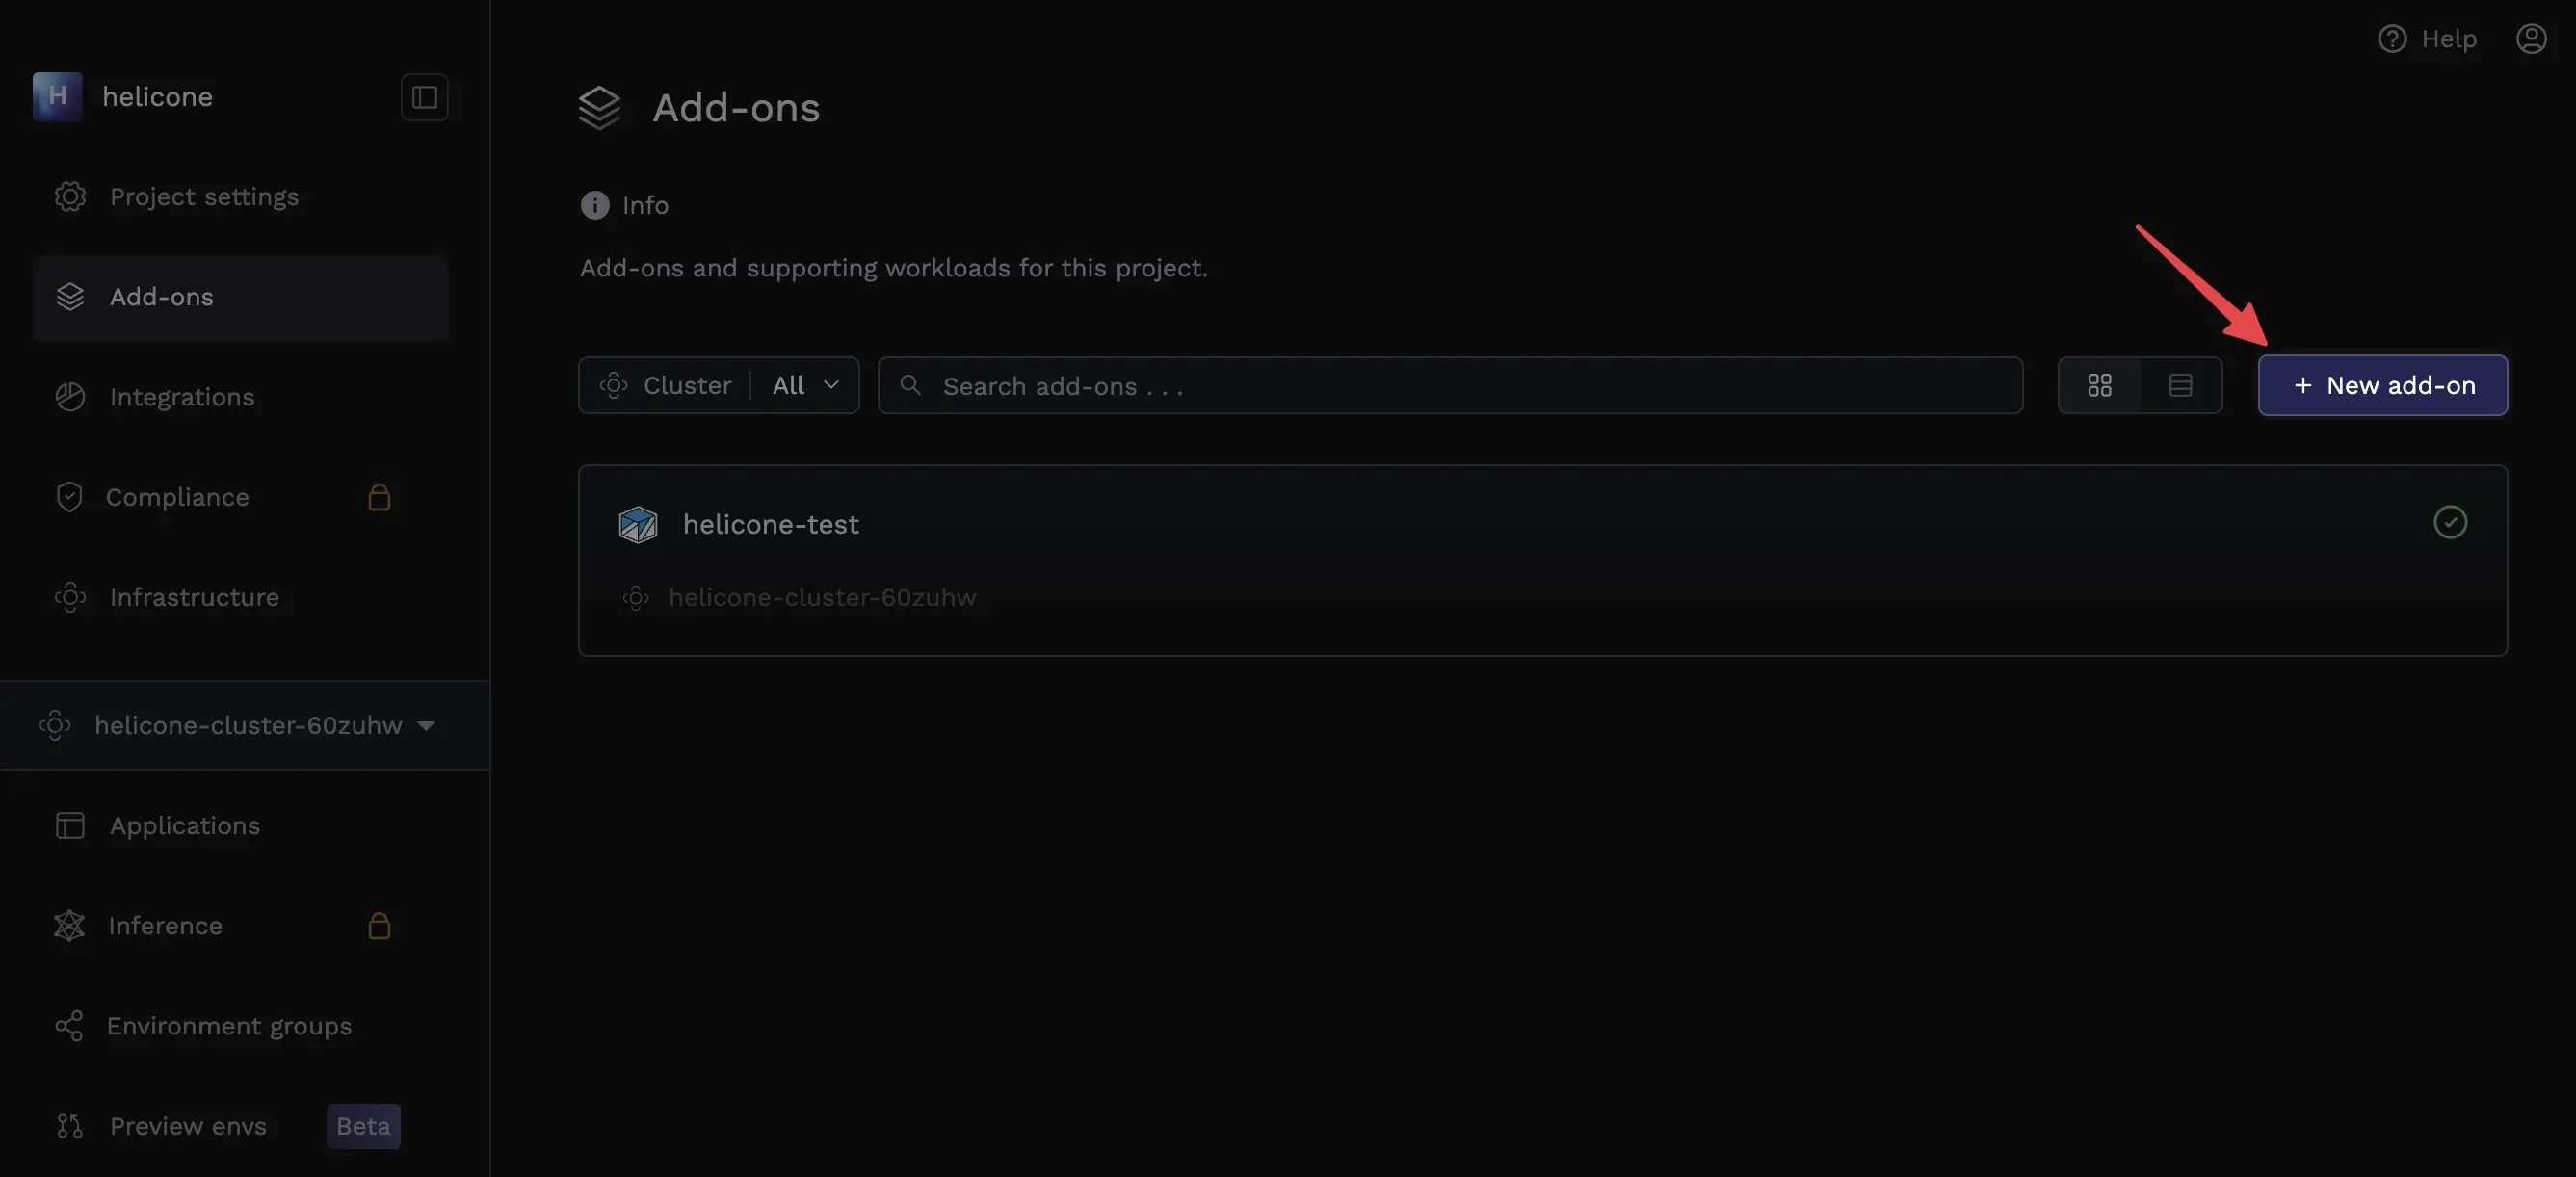
- Click on the Helicone AI Gateway tile
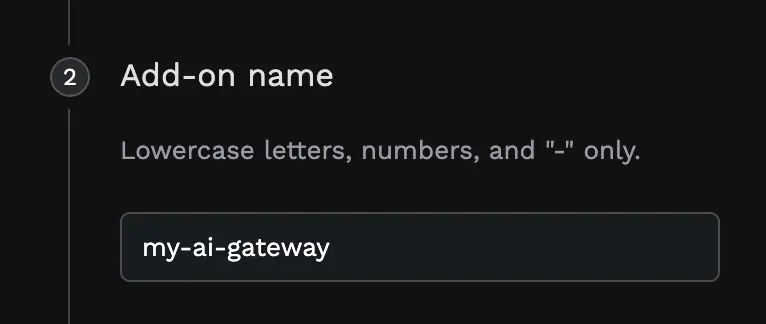
Configure deployment settings
Fill out the deployment configuration:
Basic Settings:
- Deployment Target: Select your cluster (created during Porter onboarding)
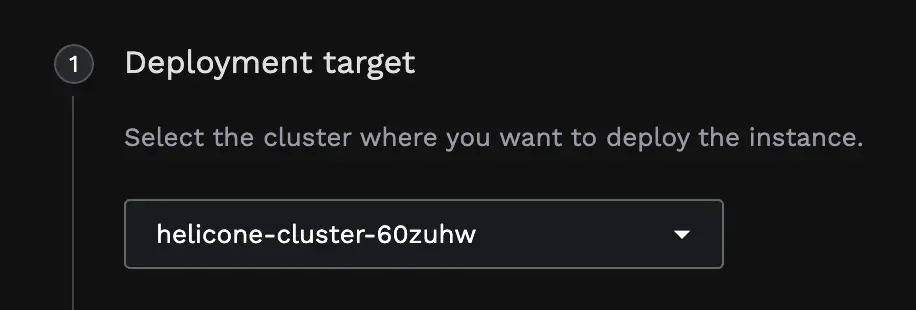
- Add-on Name: Choose any name for your gateway (e.g., “my-ai-gateway”)
Helicone Configuration:
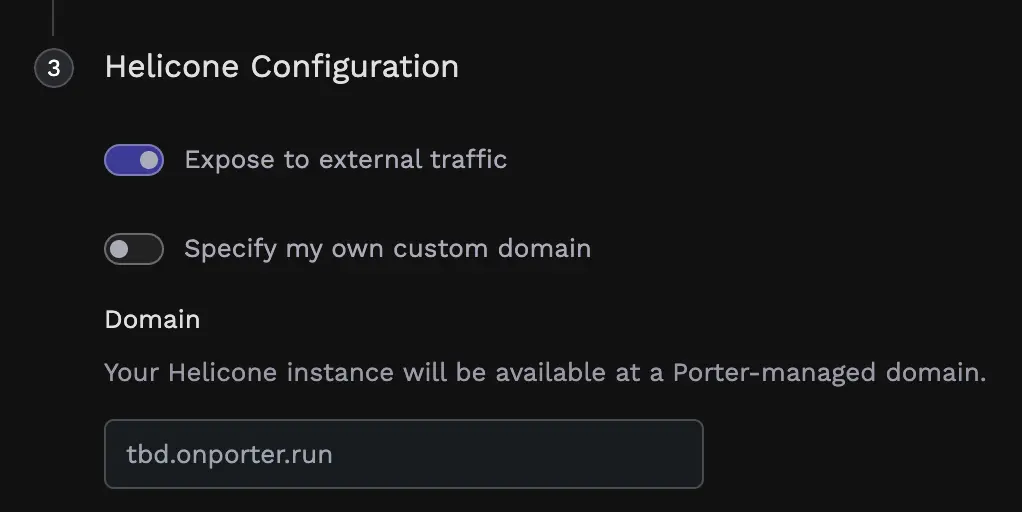
- Expose to External Traffic: ✅ Turn this ON (required for public access)
- Custom Domain (Optional): Specify your own domain if desired
- Helicone API Key: ⚠️ REQUIRED - Enter your API key from Step 2
The Helicone API Key is mandatory for authentication. Without it, your gateway will be publicly accessible without security.
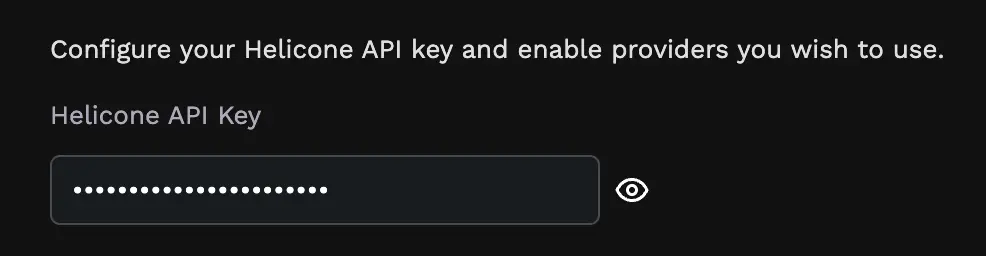
Configure provider API keys
Enable the LLM providers you want to use:
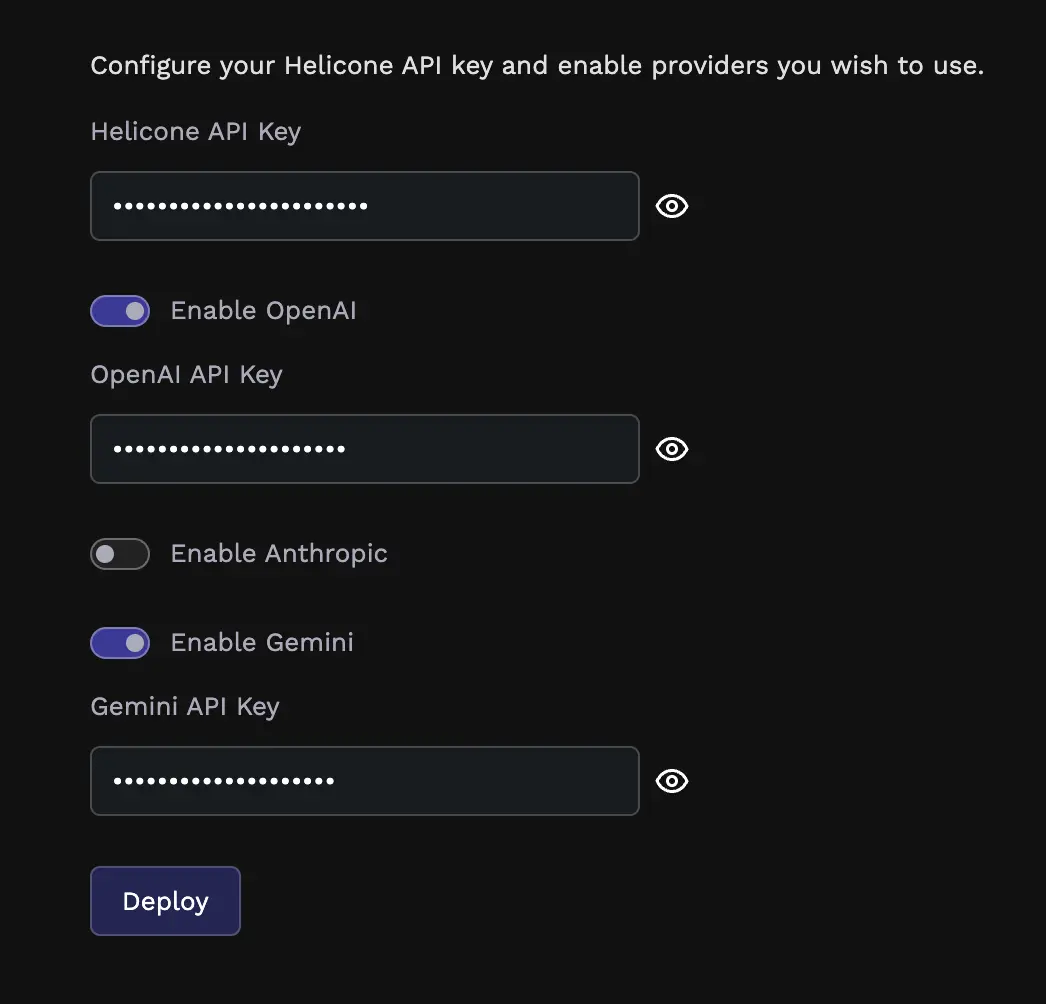
Provider Configuration:
- OpenAI: Toggle on and enter your OpenAI API key
- Anthropic: Toggle on and enter your Anthropic API key
- Gemini: Toggle on and enter your Google Gemini API key
- Other Providers: Enable additional providers as needed
Optional Settings:
- Helicone Observability: Toggle on to enable request logging and analytics
- Custom Config: Upload a
config.yamlfile for advanced routing (optional)
Only enable providers you plan to use. You can always add more providers later by updating your deployment.
Deploy your gateway
Complete the deployment:
- Review all your configuration settings
- Click “Deploy” to start the deployment process
- Porter will build and deploy your AI Gateway
- Wait for the deployment status to show “Running”
Deployment typically takes 2-3 minutes. Porter will show real-time status updates during the process.
Test Your Deployment
Once deployed, Porter will provide you with a public URL. Test your AI Gateway with authentication:
Replace your-gateway-url.porter.run with your actual Porter deployment URL and sk-helicone-your-api-key with your Helicone API key.
Custom Configuration
For advanced use cases, you can upload a custom config.yaml file during deployment:
Create a custom config file
Create a config.yaml file with your desired configuration:
Upload during deployment
In the Porter configuration UI:
- Scroll to the “Custom Config” section
- Click “Upload File”
- Select your
config.yamlfile - Continue with the deployment process
Custom configurations override the default settings. Make sure your config includes all necessary authentication settings.
Next Steps
Secure Your Gateway
Learn more about authentication and observability features
Custom Configuration
Learn about advanced routing and caching options