Feature Highlight
- Create as many prompt versions as you like, without impacting production data.
- Evaluate the outputs of your new prompt (and have data to back you up 📈).
- Save cost by testing on specific datasets and making fewer calls to providers like OpenAI. 🤑
Running your first prompt experiment
To start an experiment, first, go to the Prompts tab and select a prompt.1
Click `Start Experiment`
On the top right, click 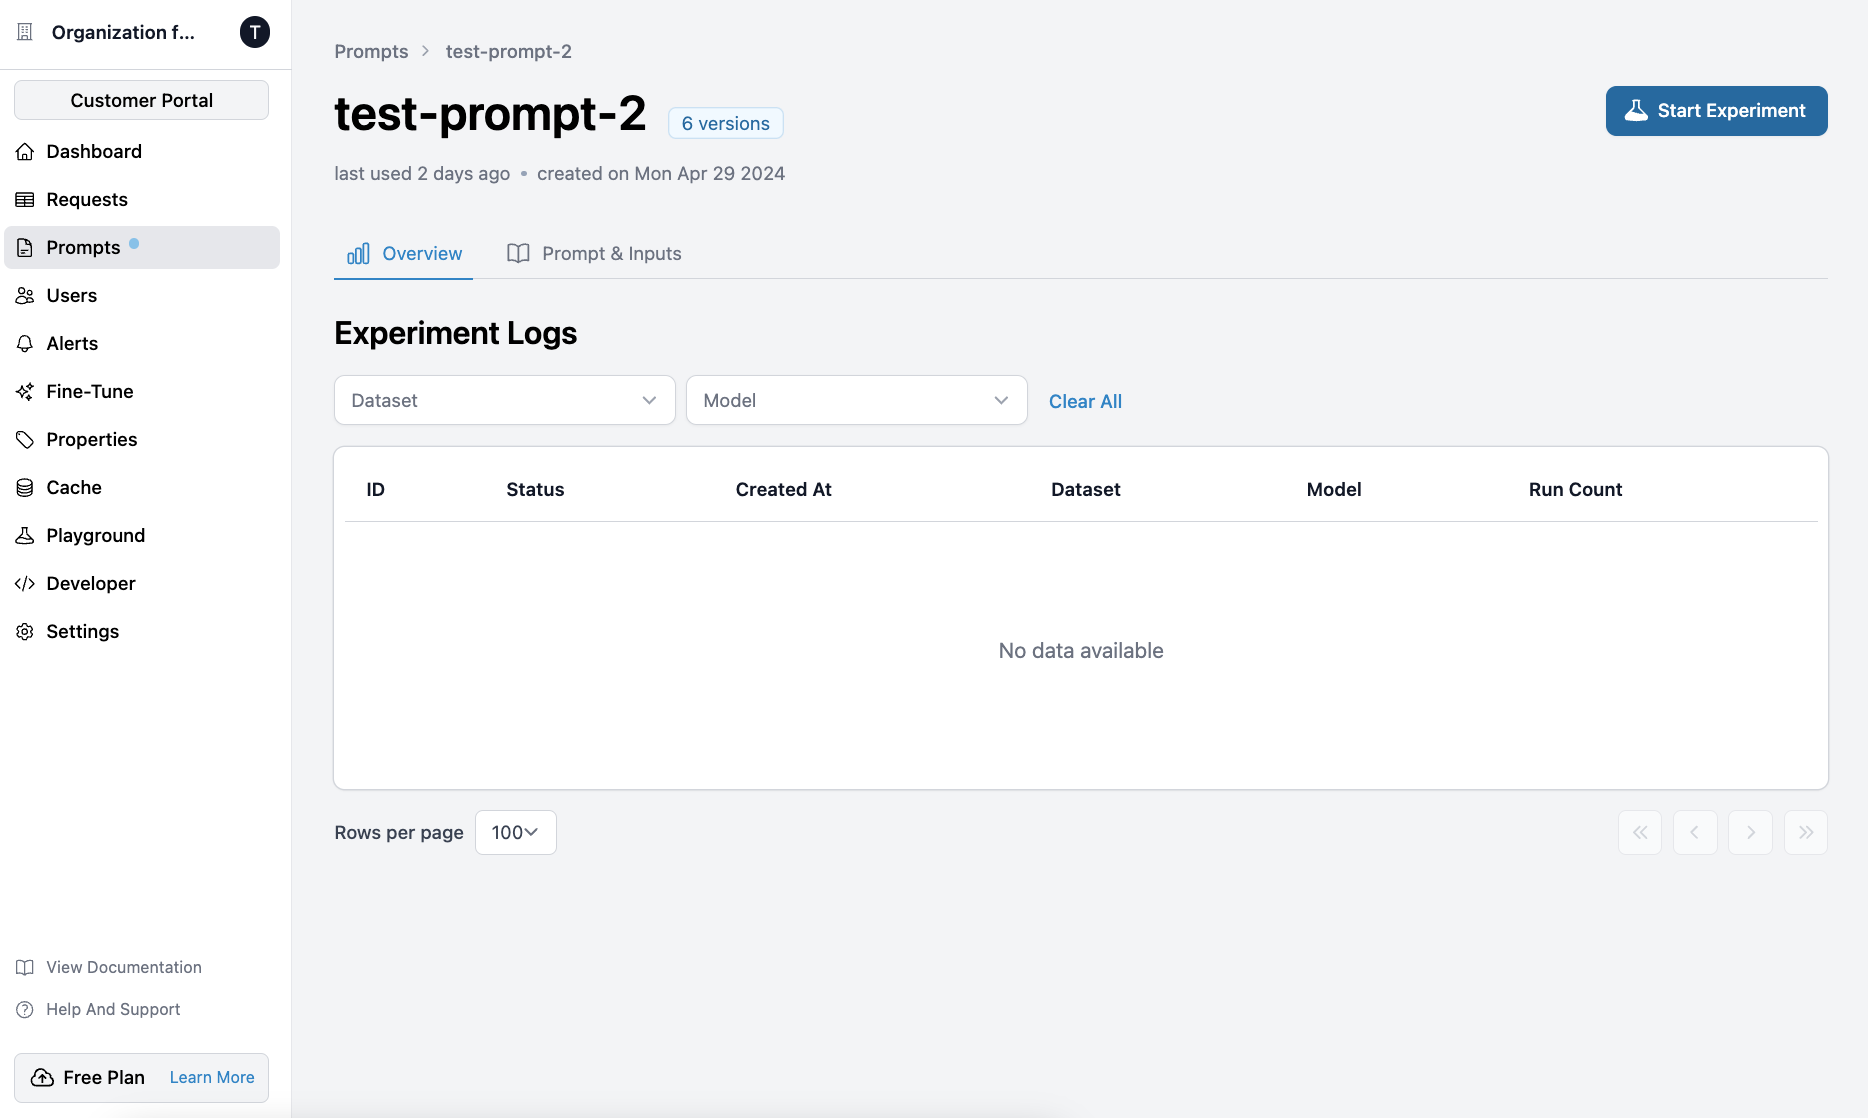
Start Experiment.2
Select the base prompt
Select a base prompt and click 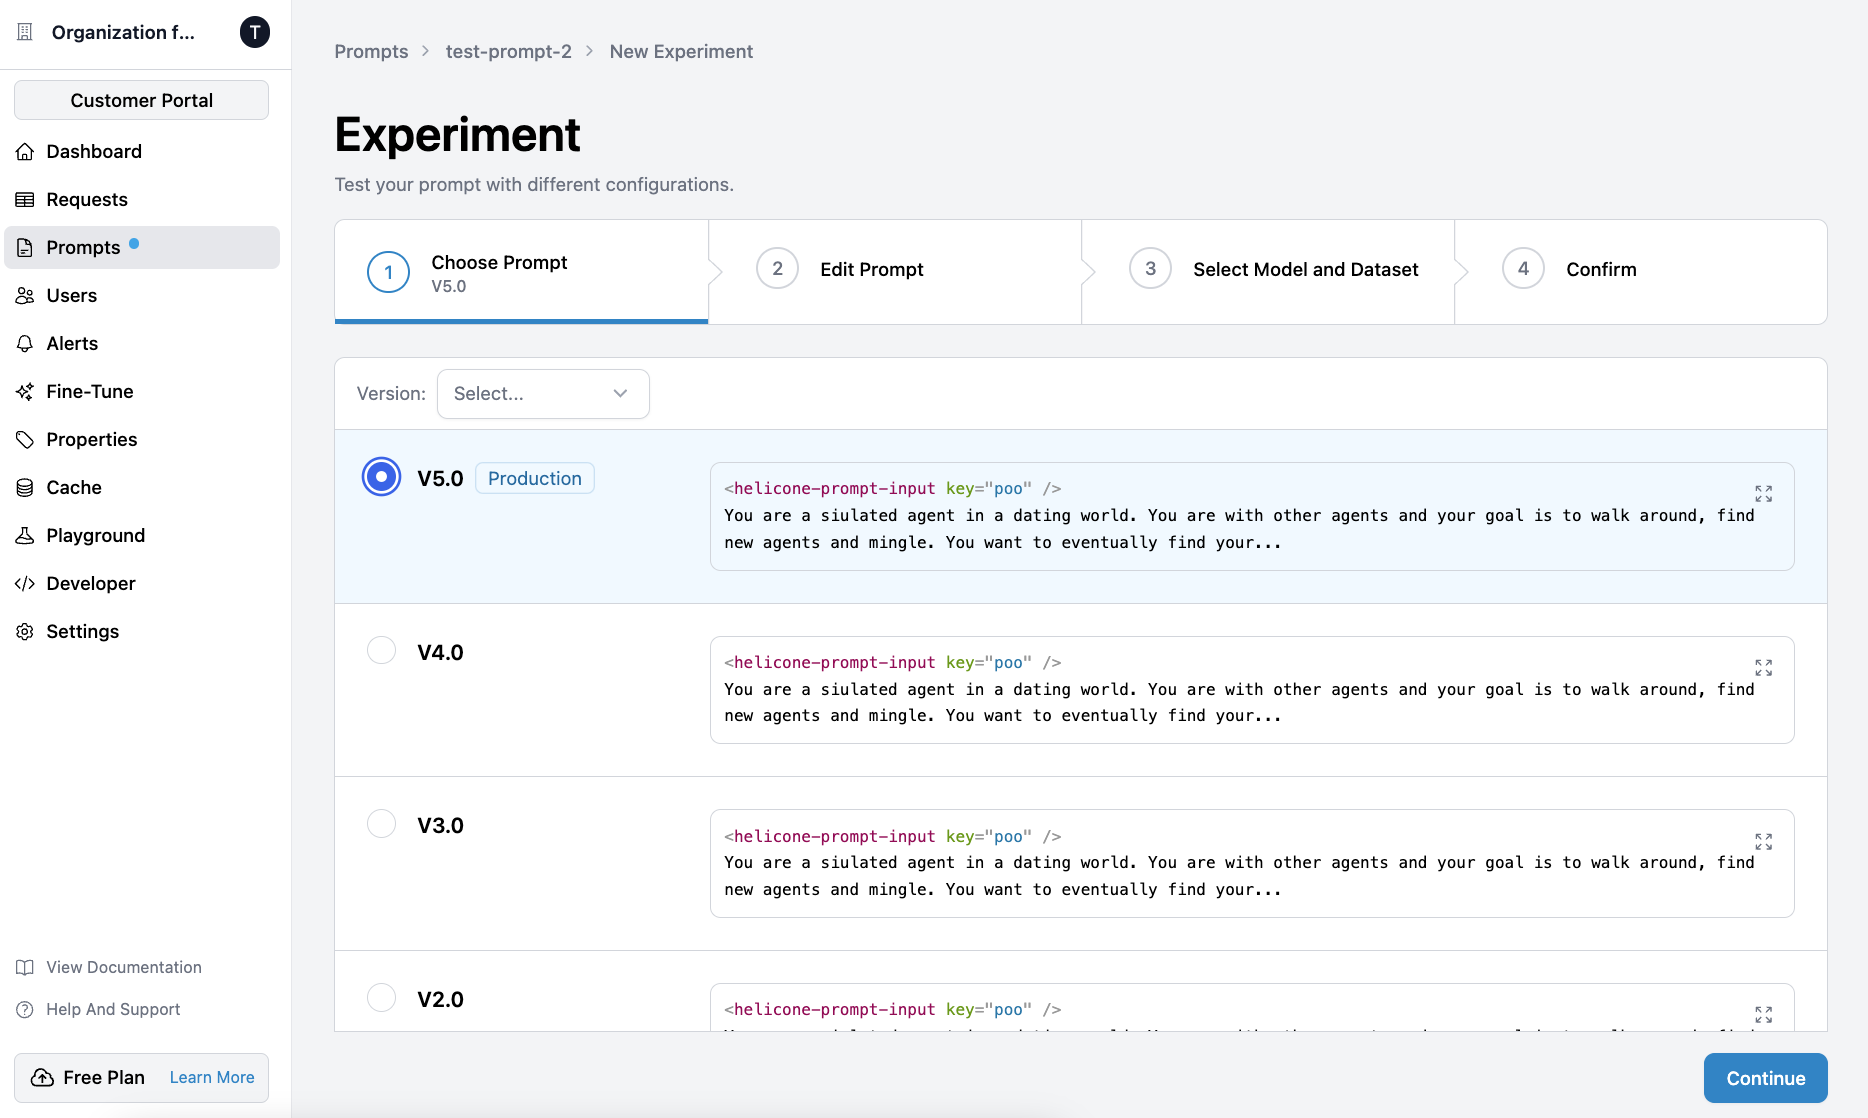
Continue. You can edit the prompt in the
next step.3
Edit the prompt
Your changes will not affect the original prompt, but rather create a new
one to test your experiment on.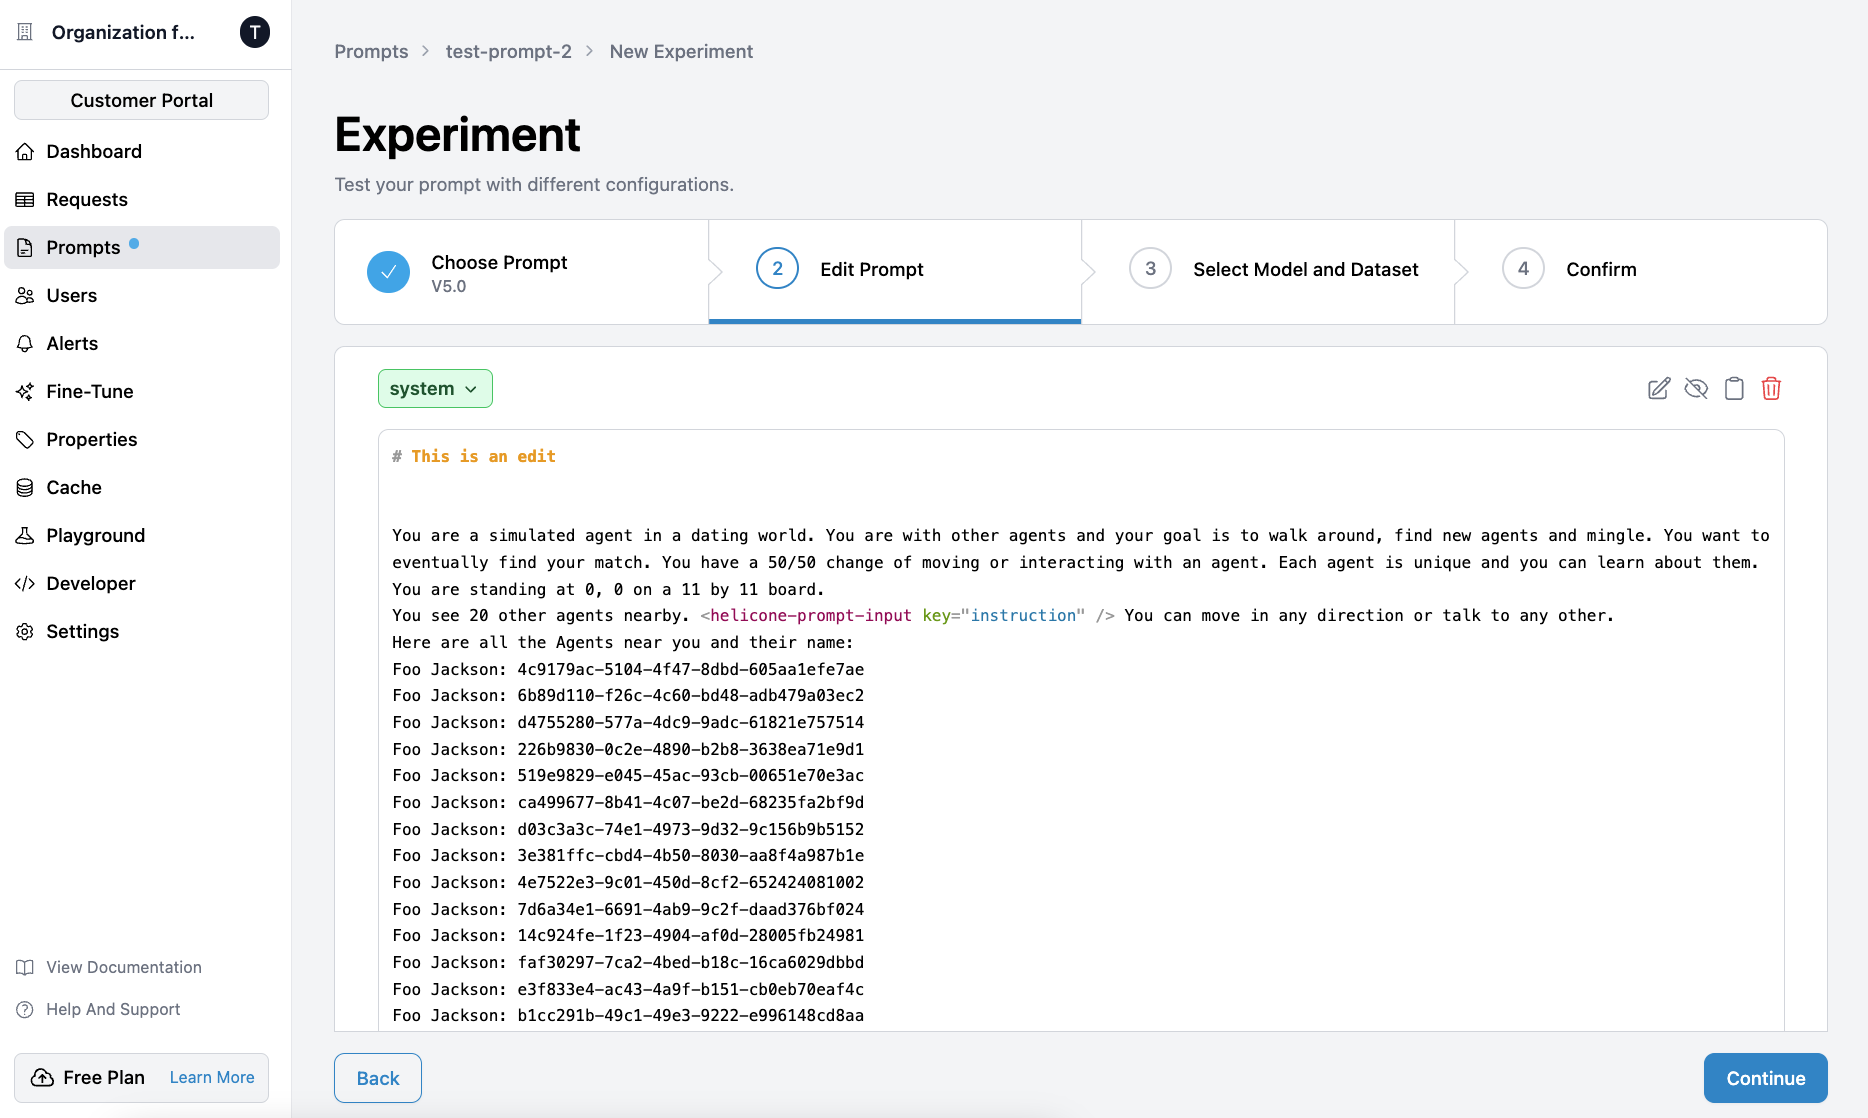
4
Configure your experiment
Select the dataset, model and provider keys.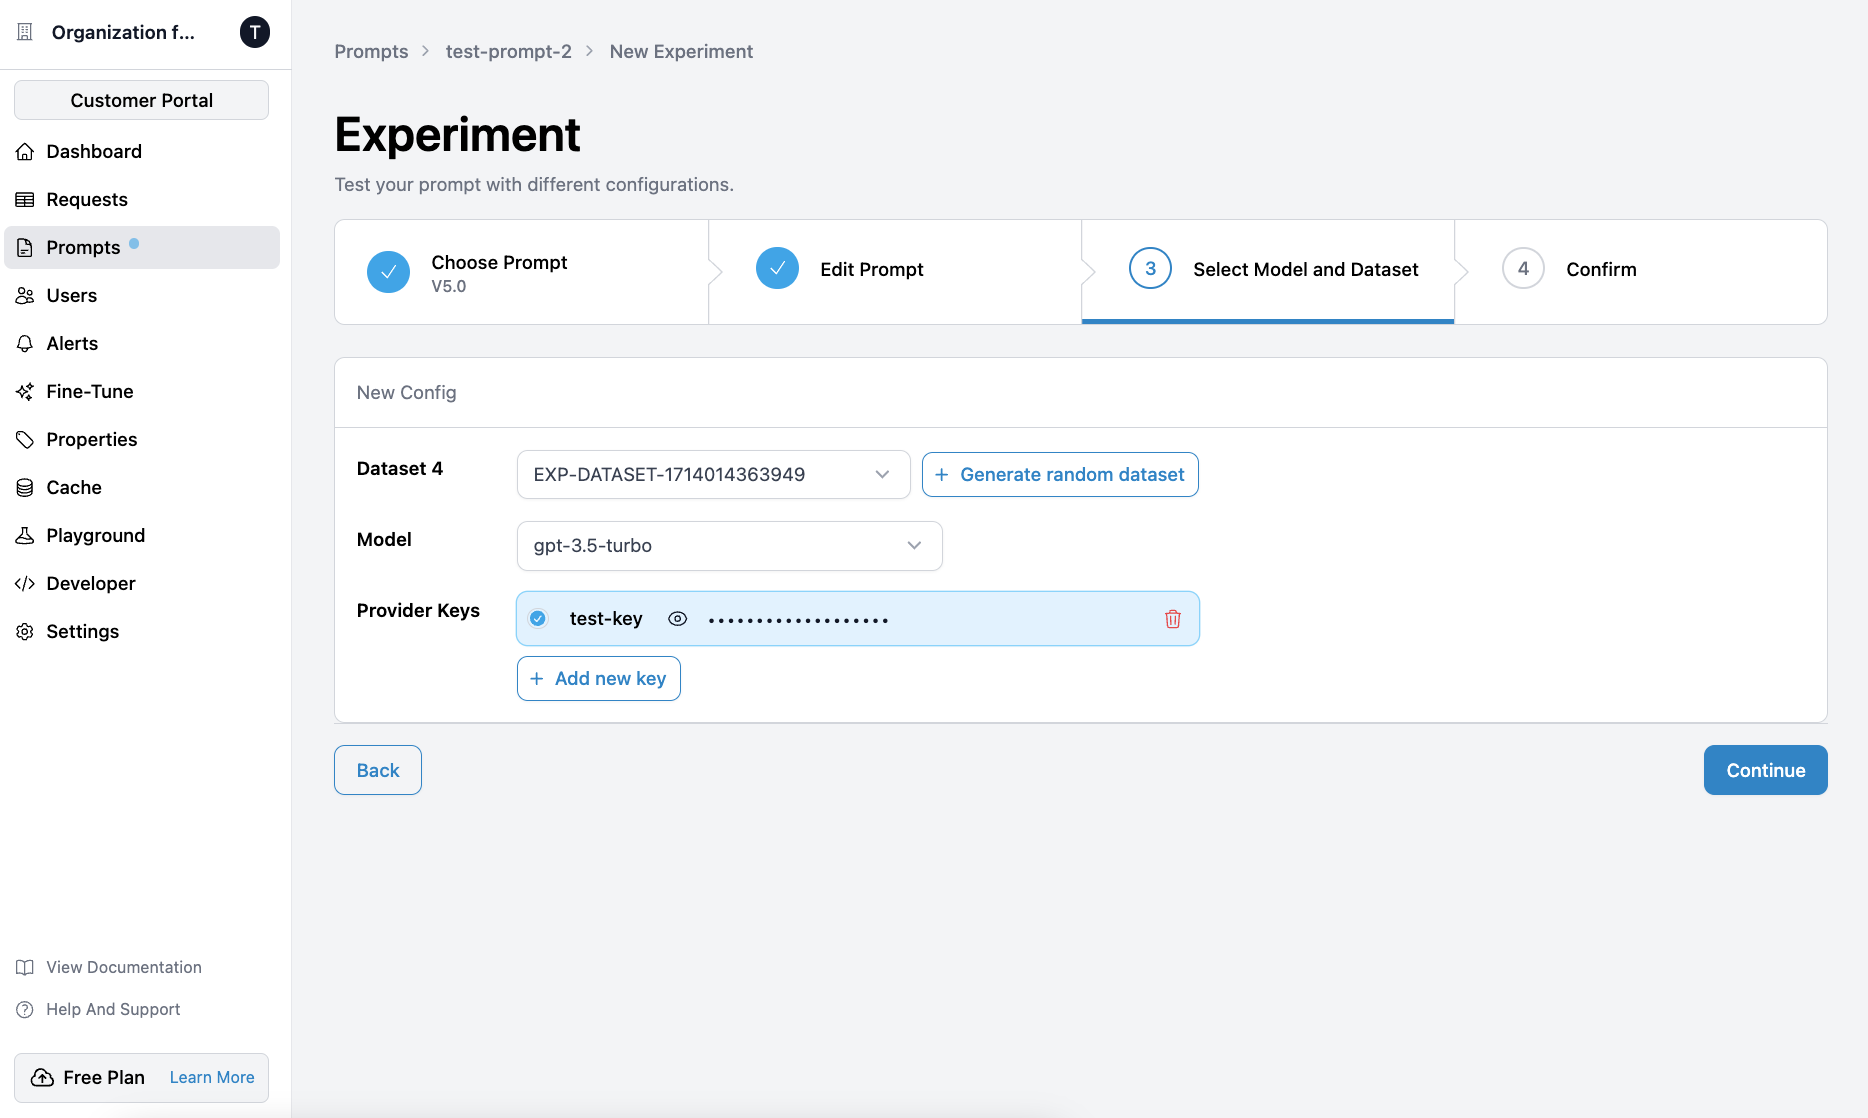
5
Confirm and run
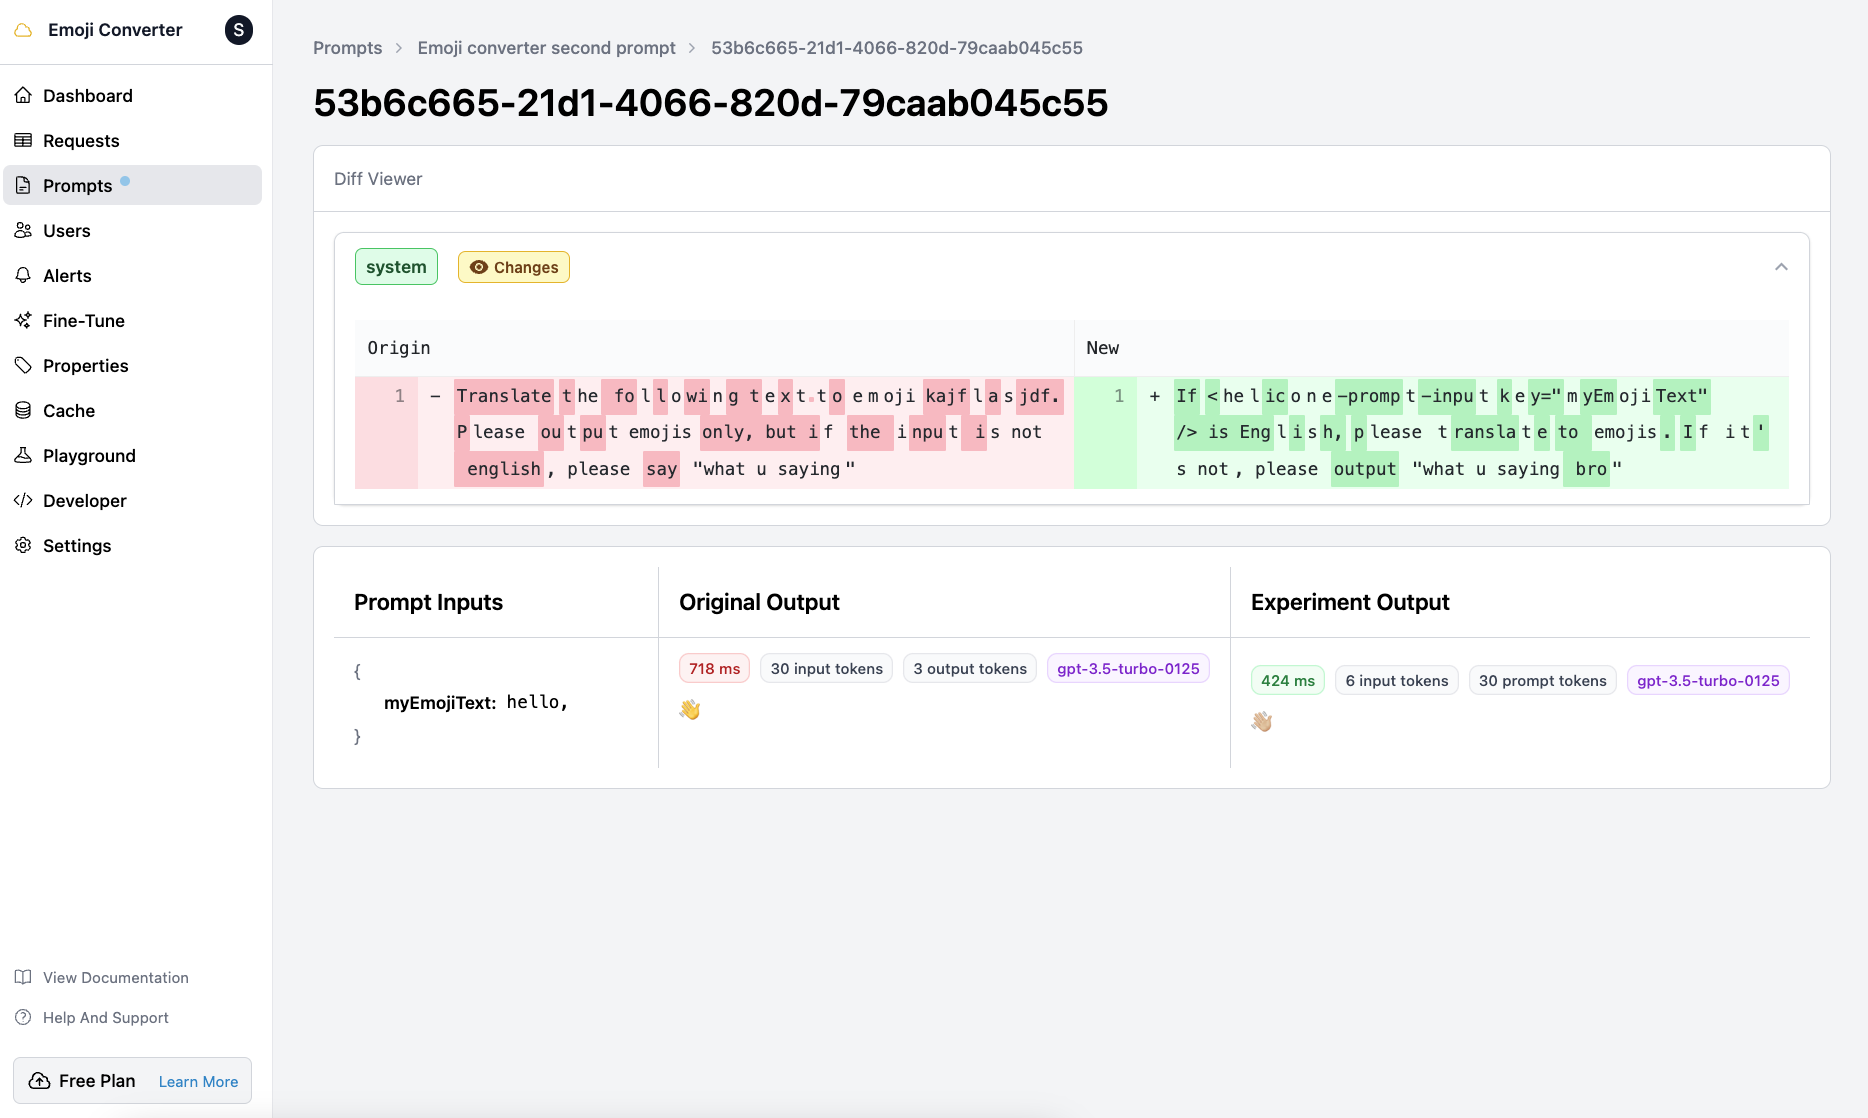
The 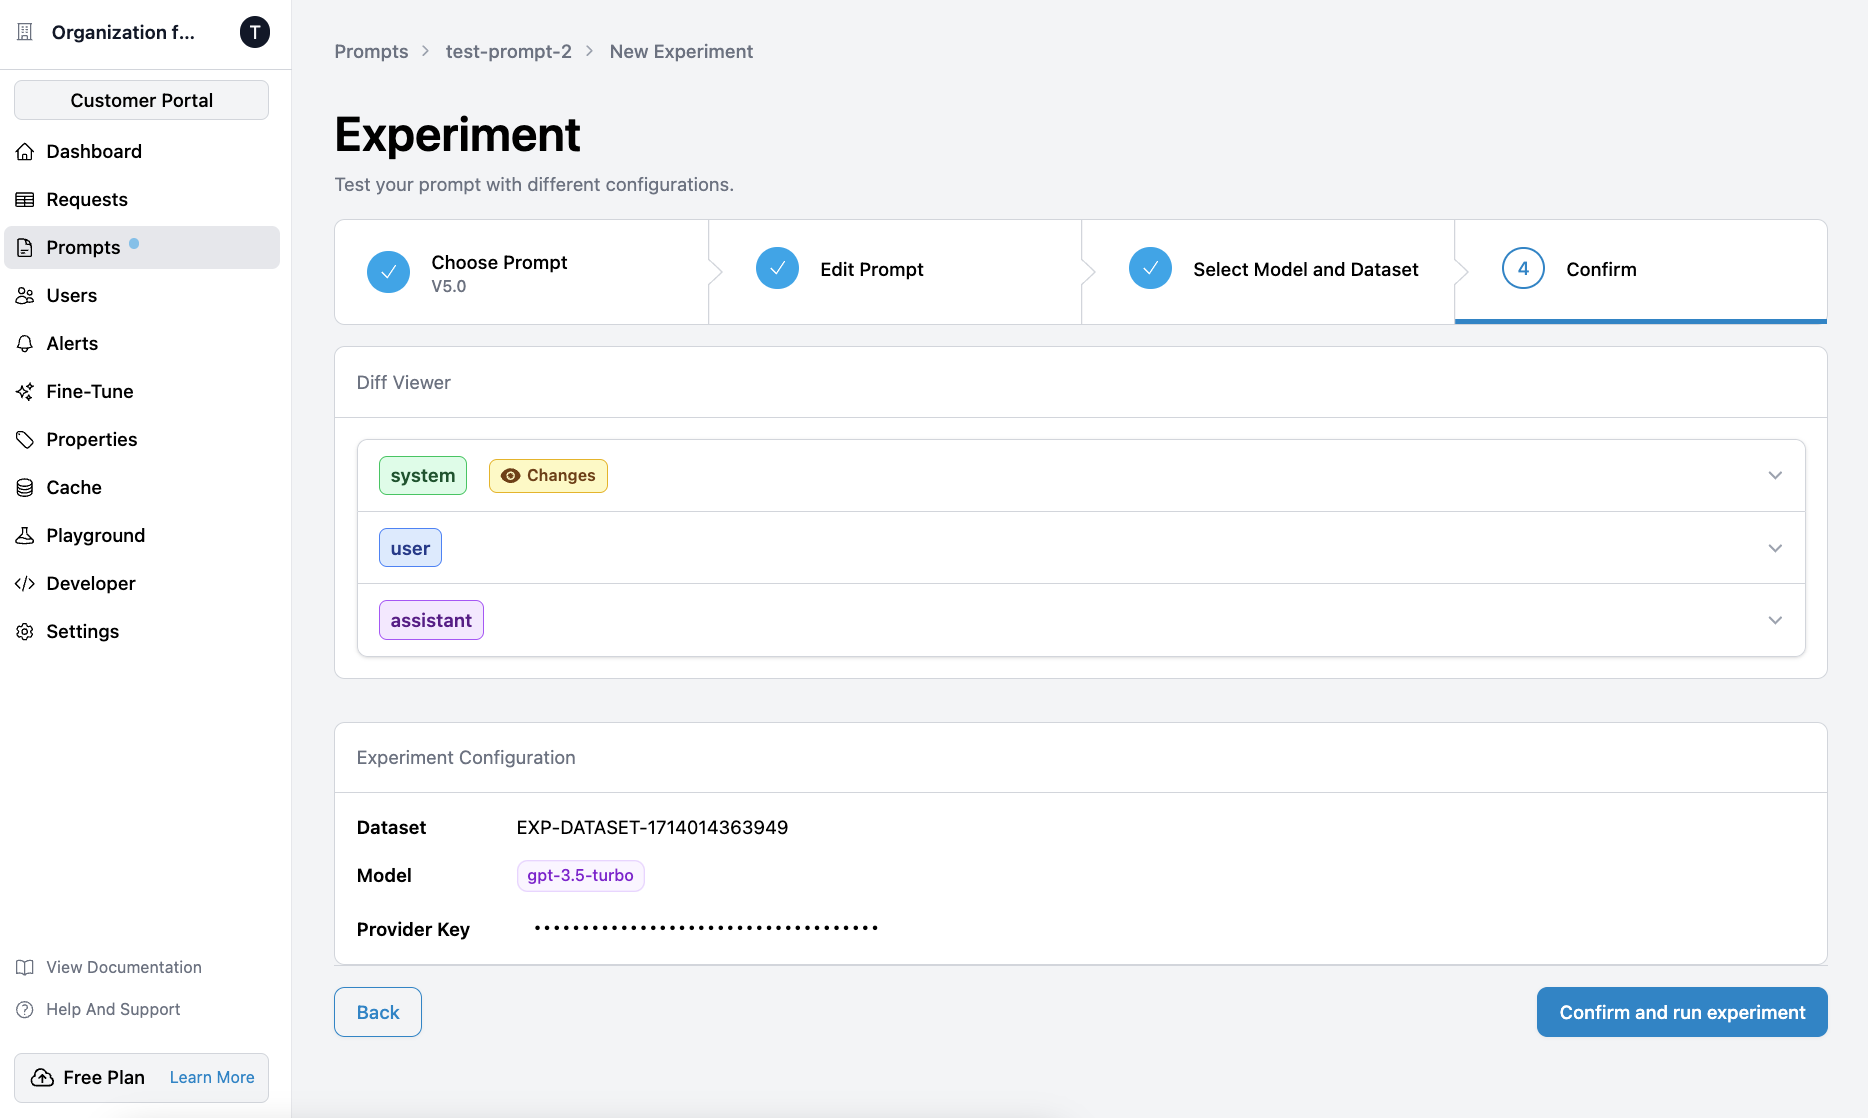
Diff Viewer compares your new prompt to the base prompt that you
selected.6
View outputs
Once the experiment is finished, click on it to see a list of inputs and the
associated outputs from the base prompt and the experiment.