In the following example we are going to show you what it looks like to resell a model using Helicone as your platform. Let’s say you are finetuning a model and it is hosted on hugging and you want to be able to sell that model to certain customers. However, you don’t want to build outDocumentation Index
Fetch the complete documentation index at: https://docs.helicone.ai/llms.txt
Use this file to discover all available pages before exploring further.
- dashboards to monitor the model
- API management
- rate limits
- billing
- authentication
- etc
Step 1: Create a Model and deploy to an endpoint
You can do this using HuggingFace or any other model hosting platform.Step 2: Add your own top level domain on Helicone
You will need to register a domain that you can give your customers to access your model. Right now this process is manual, but we are working on automating it. The domain will look something likemy-startup.helicone.ai.
Step 3: Create a new customer that you are going to sell the model to
You can do this by going to theCustomer Portal tab and clicking Add Customer.
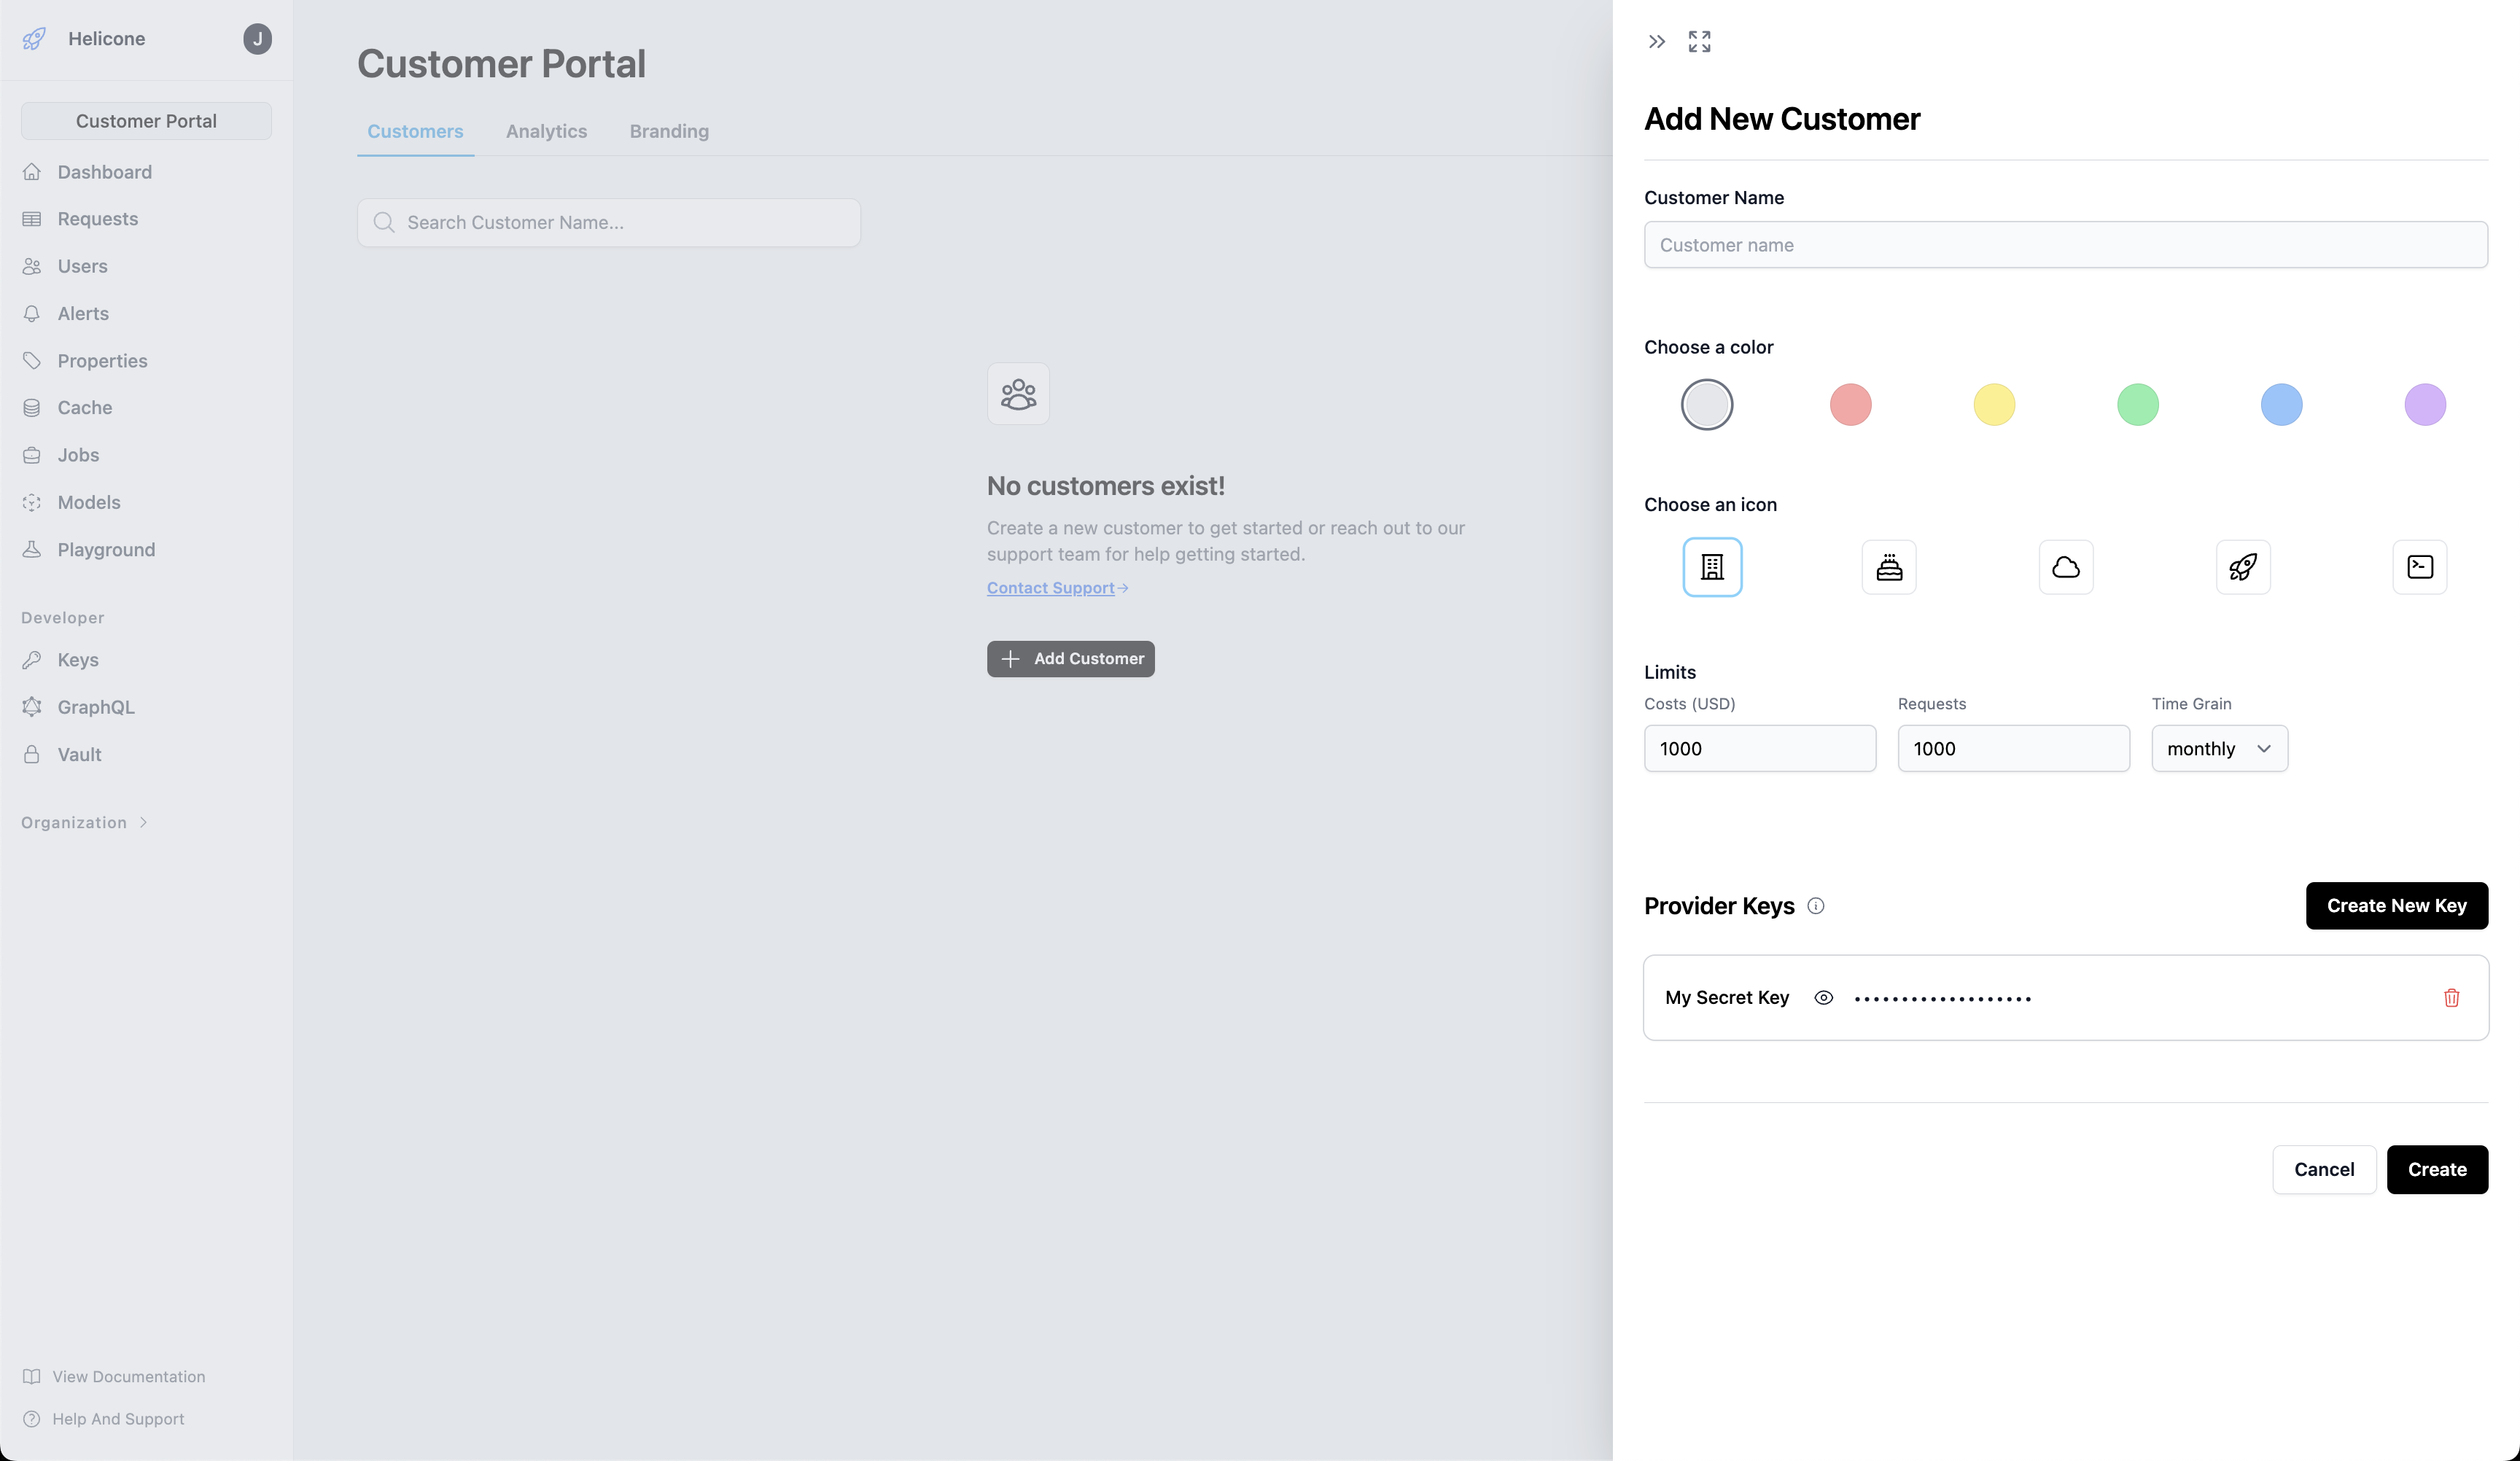
Step 4: Authenticate your customer
Since our proxy lives on the edge and not within a secure network, we need to authenticate the customer before they can access the model. You can do this by providing aProvider Key, which is simply a Bearer token that you will receive from the proxy when a customer makes a request.
The Provider Key can be anything you want! This is just a way to protect your public endpoint.
Step 5: Give your customer access to your model
Once you created aCustomer Account you can add your customers to their new account.
Optionally if you opt in, you can register your own deployment for the
dashboard they can use to login. For example
dashboard.mystartup.com.Invite Members.

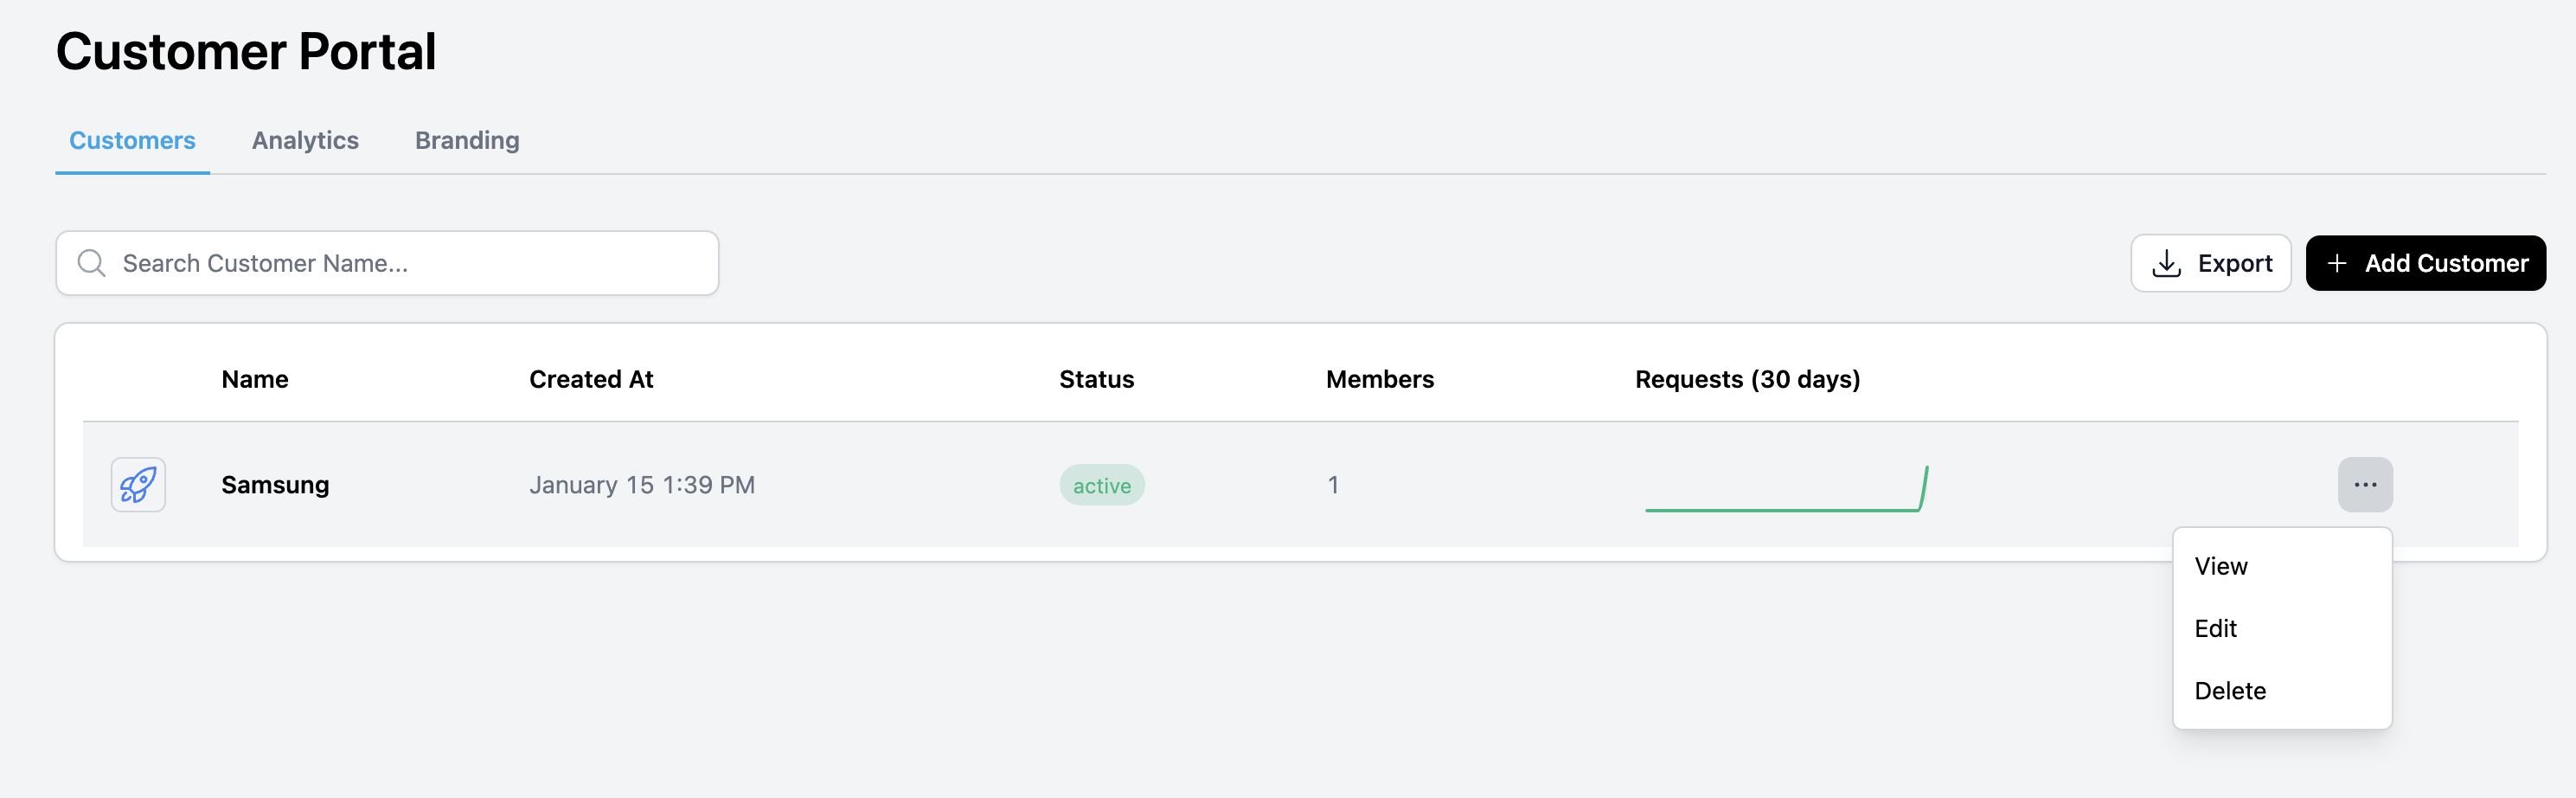
Step 6: Customer makes a request to your model
Now that you have a customer account, a customer can make a request to your model, by logging into their dashboard. You can preview their dashboard by clickingView on the customer account.
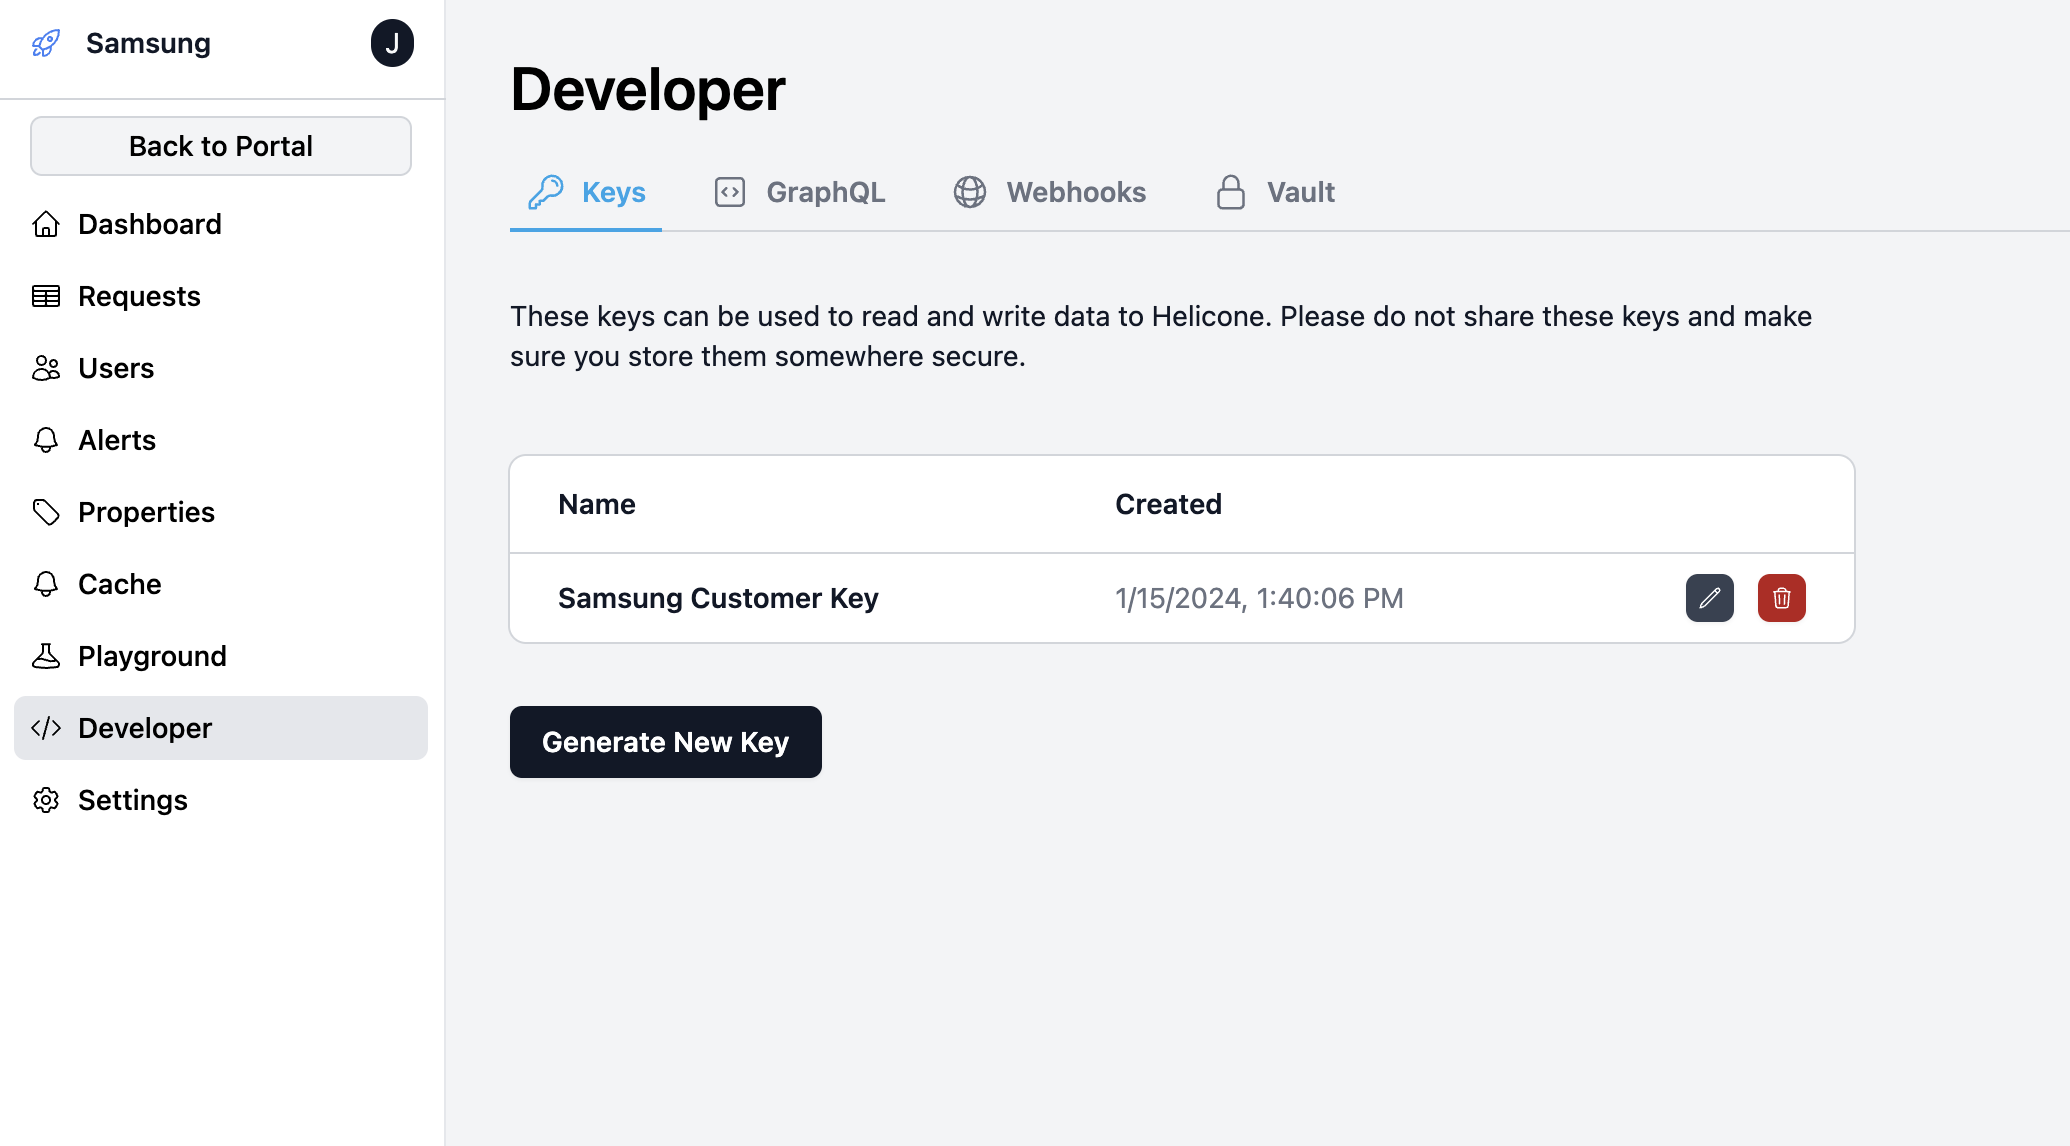
Developer tab and mint a new key they can use to access your model.